Black Limestone Patio Damaged with Brick Acid Rescued in Guildford
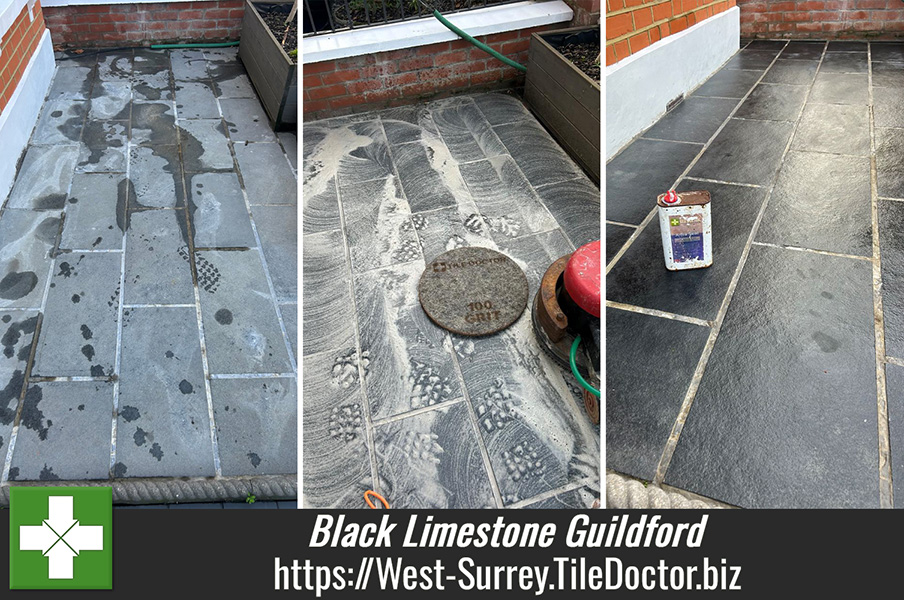
This client from Guildford had the front of her house painted by a contractor who managed to splash paint on their black limestone patio. To remove the staining the contractor decided it would be a good idea to rinse the patio with brick acid. It certainly got the paint off but also bleached the colour out of the limestone and etched the surface in the process completely ruining its appearance. Unfortunately, some types of stone can be cleaned with acid however other calcium-based stones are very sensitive to acid and therefore easily damaged.

Horrified by the state of their patio they decided to contact Tile Doctor and I was able to reassure them that there was no need to worry and that I would be able to renovate the limestone and restore the colour. I worked out a detailed quote for the work, the will bill for which no doubt would be passed onto the decorator and arranged a time for the work to be carried out.
Renovating a Black Limestone Tiled Patio
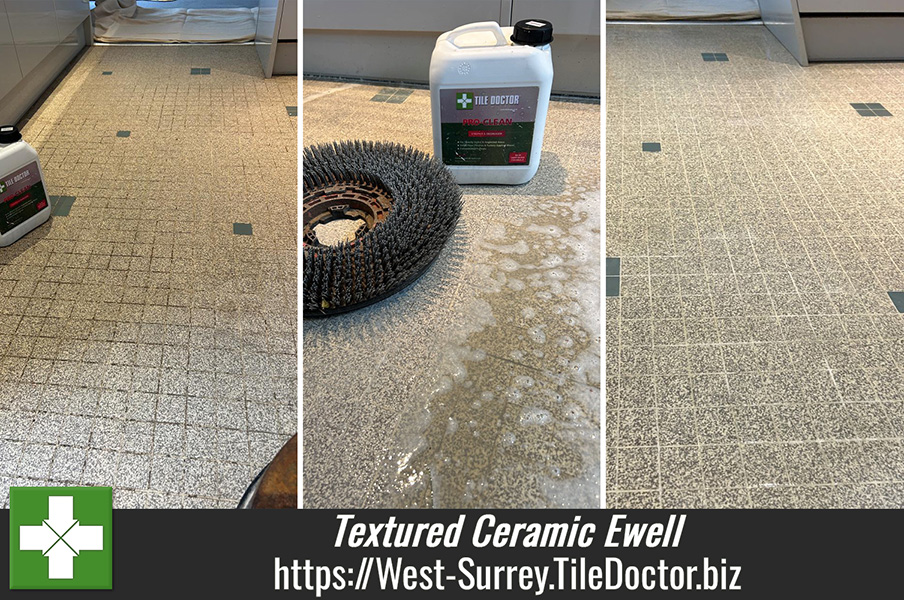
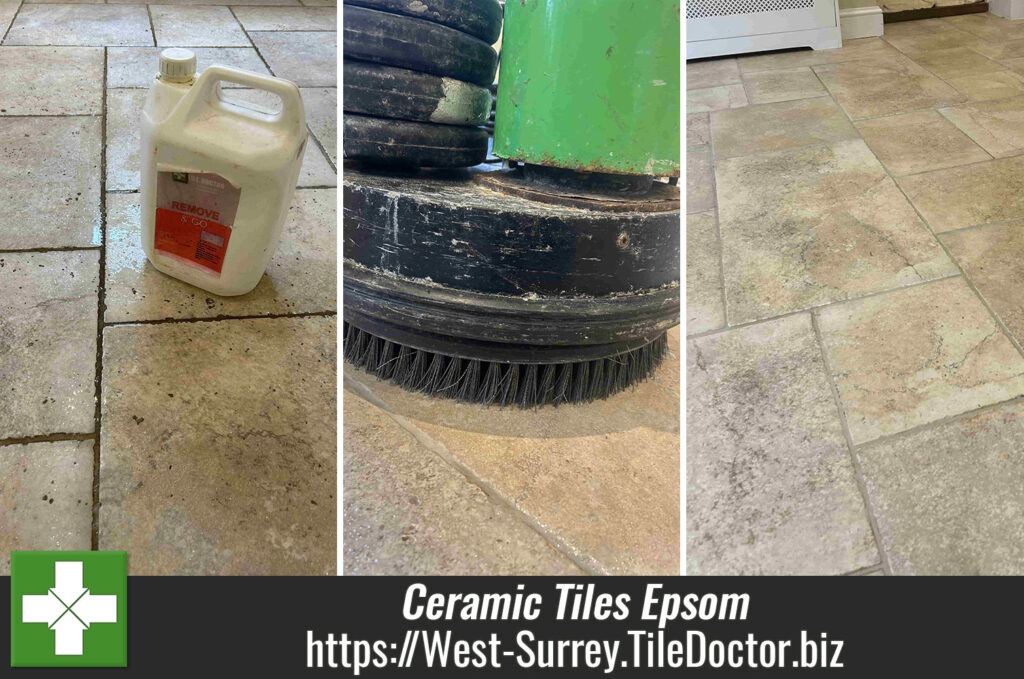
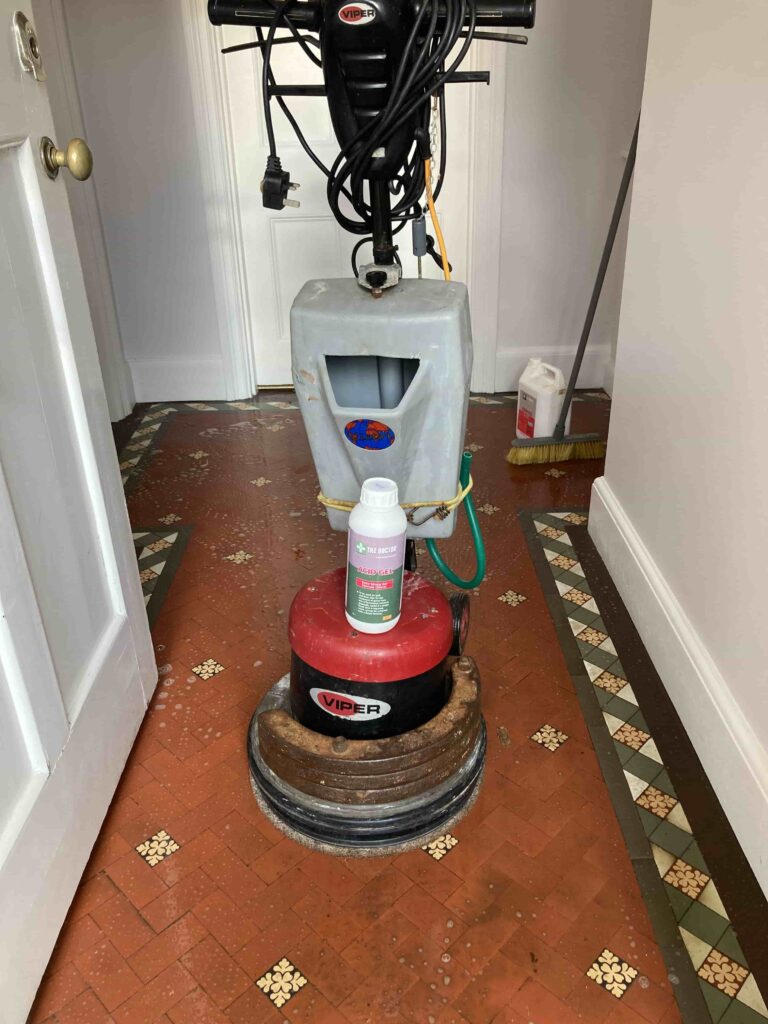
To rectify the surface etching the best solution is to burnish the limestone tiles with coarse 100 and then 200 grit diamond pads. These coarse pads cut slightly into the stone to remove the damage. The pads are fitted to a weighted floor buffer and run over each pad several times. The extra weight added to the buffer improves traction with the stone and gives an even result. The process generates a fine slurry which is rinsed with warm water and then extracted with a wet vacuum.

Normally I would leave the patio to dry off naturally, but the weather was beginning to change, and I was concerned it could rain so the patio was speed dried using an air mover. After an hour I checked the moisture readings had dropped within the correct tolerance and the tiles were ready to be sealed.
Sealing a Limestone Tiled Patio
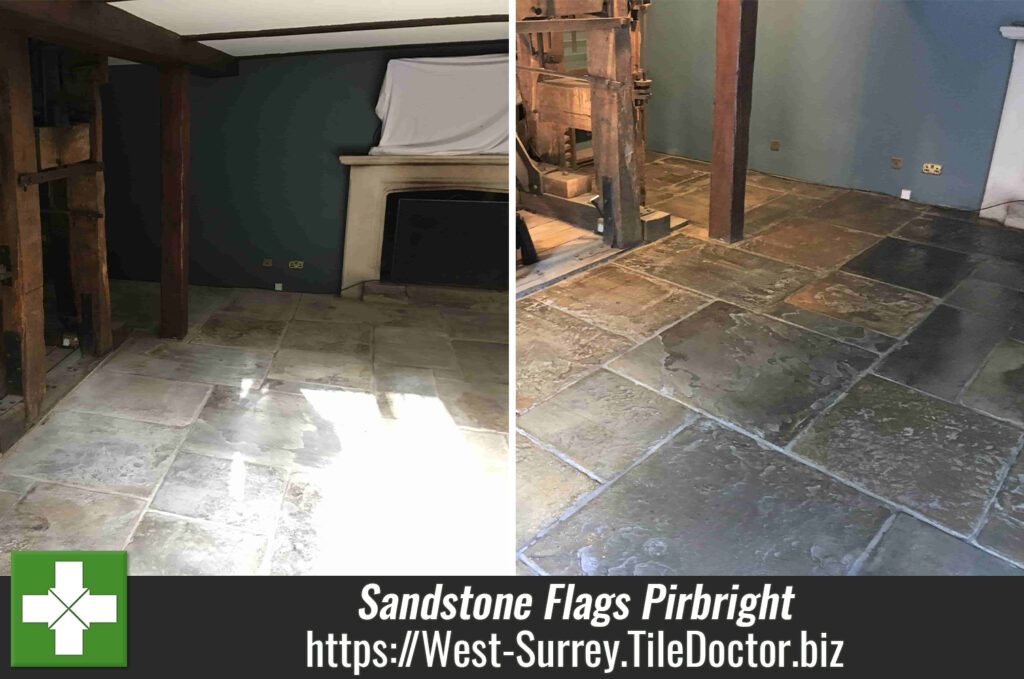
I chose Tile Doctor X-Tra Seal to seal this stone, applying two coats. This is an oil-based product that restores the beautiful black colour to the limestone resulting in a nice finish and made my client happy who wanted the tiled darkened. This product is also rated for external as well as internal use so it is ideal for this application.

Once complete the Black Limestone looked fantastic much to the relief of the owner; the dark colour had returned and the features in the Limestone were visible. Before leaving I recommended the use of Tile Doctor Neutral Tile Cleaner for regular maintenance going forward. It’s always tempting to use something more aggressive on external stone but doing so will risk the problem repeating.
Professional Restoration of a Limestone Tiled Patio in West Surrey
Black Limestone Patio Damaged with Brick Acid Rescued in Guildford Read More »