
Rescuing a Grout Stained Newly Laid Terracotta Tiled Patio in Leatherhead
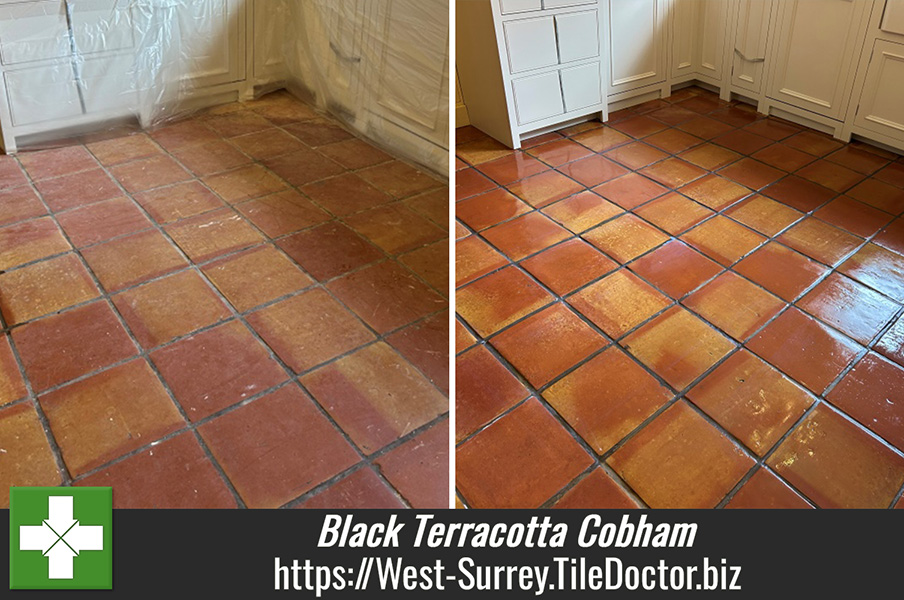
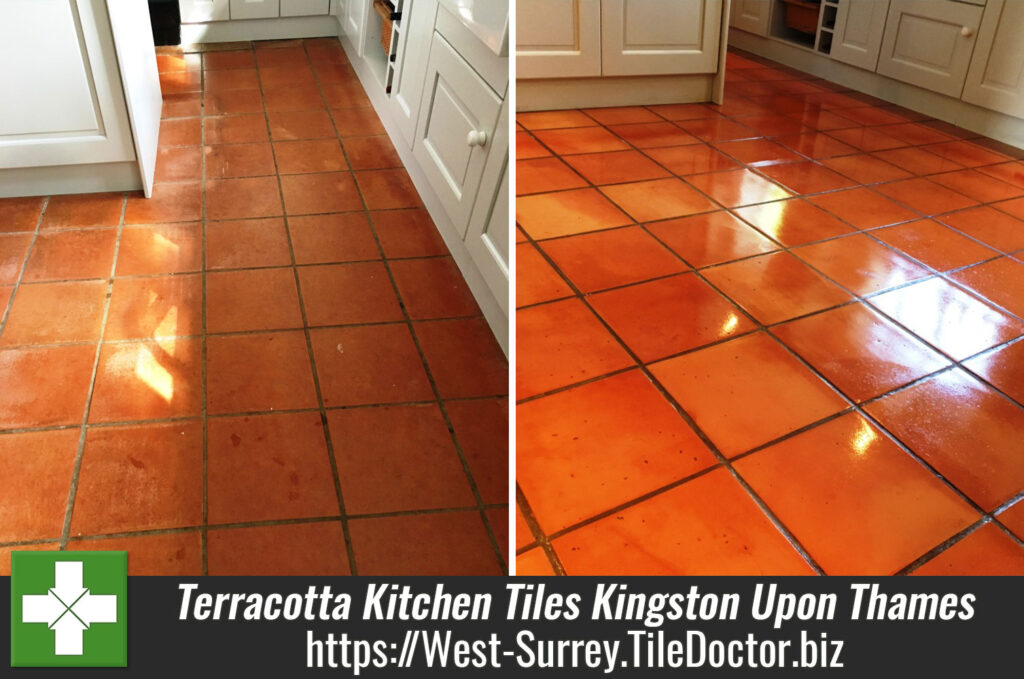
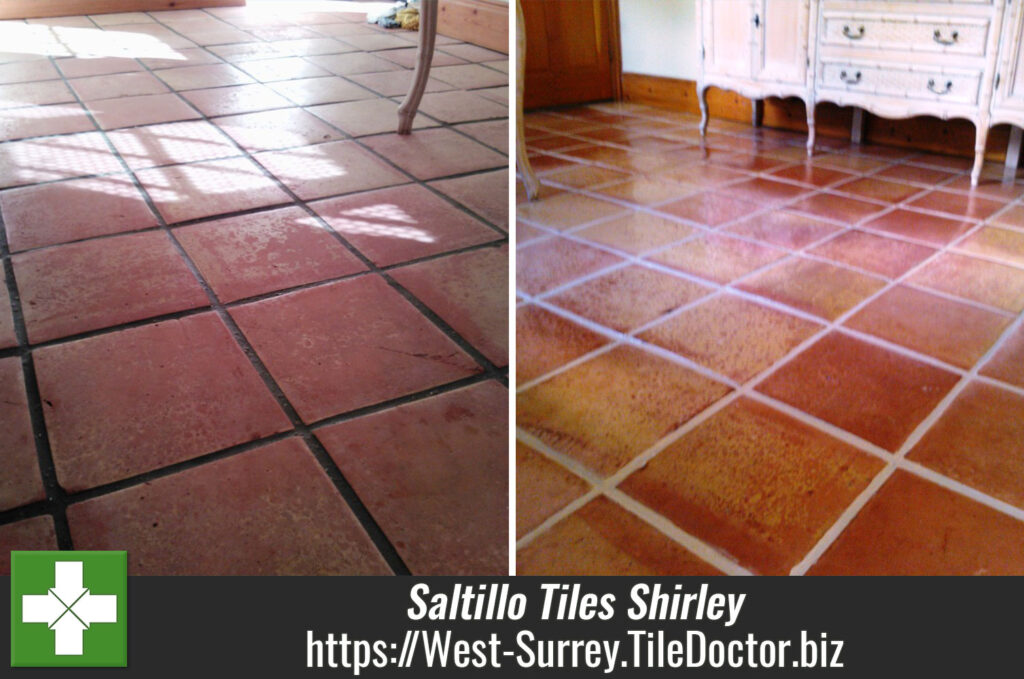
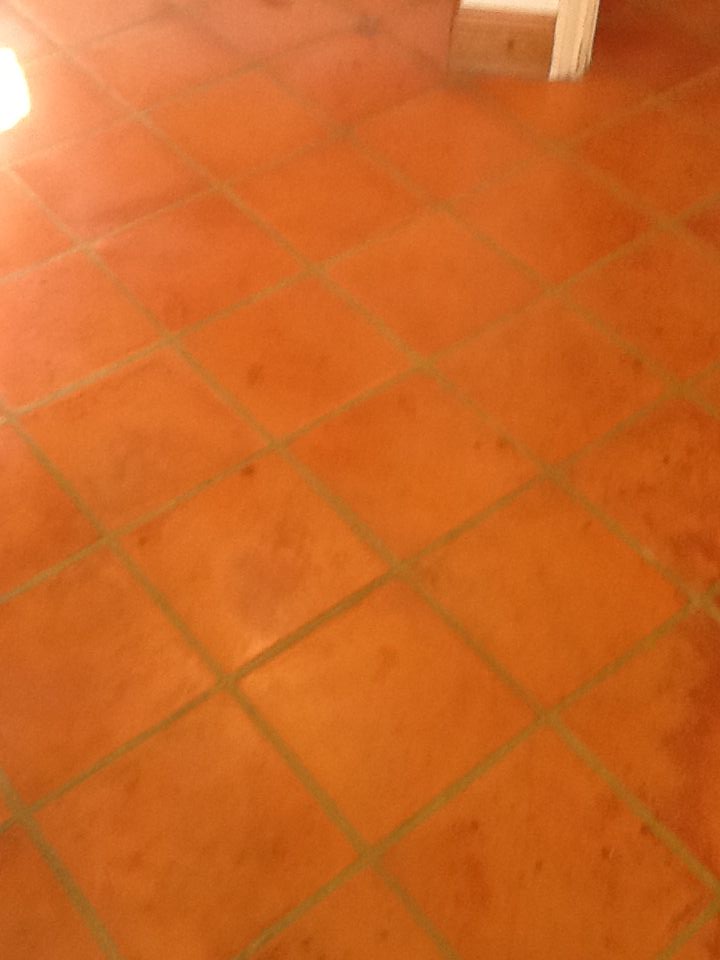
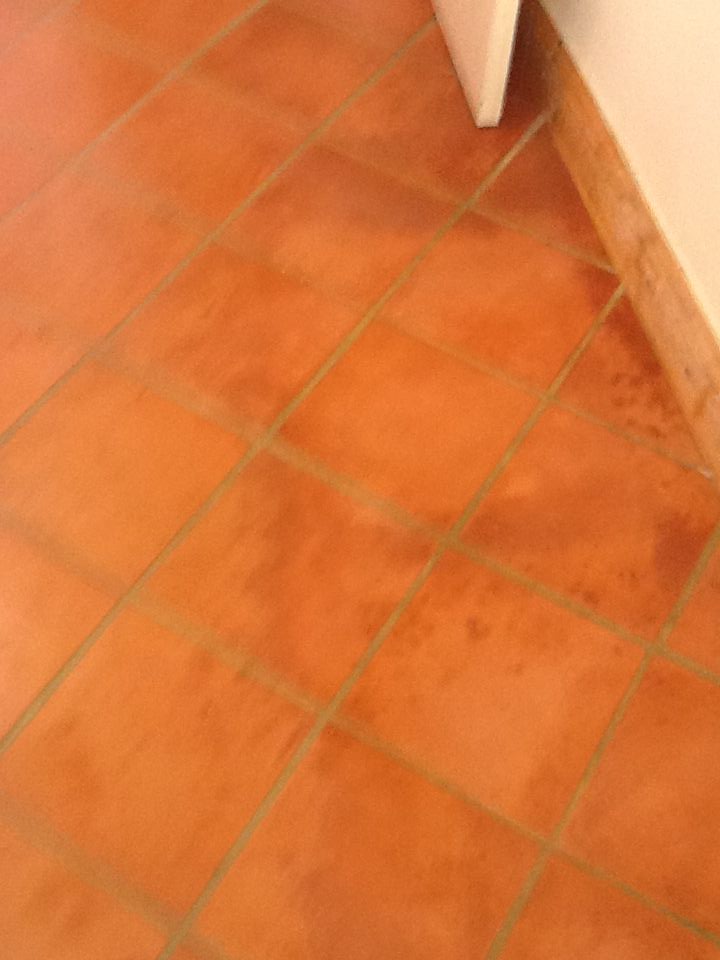
It’s difficult to recognise, but the photo below from a property in Leatherhead, is of a recently tiled Terracotta brick patio laid in a herringbone pattern. While the tiles had been laid well the grout hadn’t been removed from the surface of the tile, in fact I don’t think any of the grout had been polished off which is the usual practice after laying tiles.

The client was now in dispute with the tiler and had held back half the payment as a result. It was unlikely the tiler would be able to resolve the problem satisfactorily and so I was asked to pop round and take a look.

I visited, as requested to survey the tiles and propose a solution and was shocked myself at just how bad it was; in fact, this was by far the worst example I’ve ever of a problem we call Grout Haze. My customer was very upset about the whole situation however I was able to provide the assurance that it could be resolved. I worked out a quote for two days’ work to remove the grout staining which was accepted and a date agreed.
h2>Removing Grout Haze from a Terracotta Tiled Brick Patio
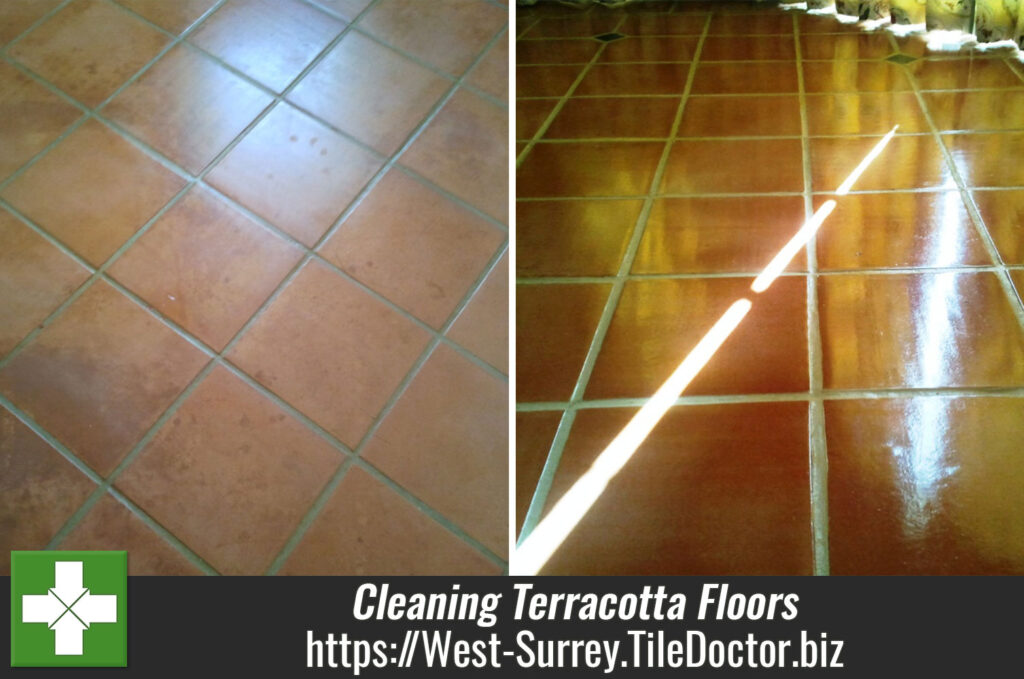
Jumping ahead I can confirm I managed to remove the grout haze but I did have to use several methods before it was 100% and looking the way it should of done to start with.
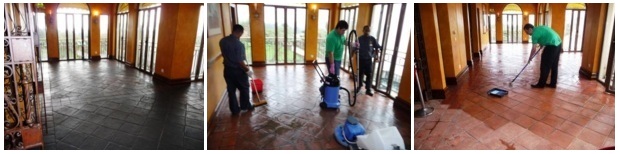
The first method was to attach a coarse 120-grit Carbide Brush to a rotary floor buffer with extra weights fitted. This is essentially a very hard wearing 17-inch wire brush which is very effective at cleaning rough surfaces. I ran this over the patio to work in a strong dilution of Tile Doctor Grout Clean-up which is an acid-based product that is used as its name suggests to remove grout. The brush was run over the floor for the next fours to remove as much of the grout haze as possible and until it became clear it was no longer being effective.
Next, I switched the brush out for a coarser 100-grit diamond pad and used that to work in more Grout Clean-Up. This slowly improved the appearance of the Terracotta but more work would be needed and it was beginning to get dark so I decided to call it a day and finish by rinsing off and extracting the slurry.
 |
 |
I returned the following day feeling refreshed and with a new plan on how to tackle and remove the final remnants of grout. It was clear that the previous methods with larger machinery had done all they could so it was now time to try a more detailed approach. For this I used a Fein Oscillator tool to grind away the remaining patches. This is a noisy hand-held tool so you need to wear ear defenders, and working at this level meant slow but effective progress.
Once finished the dust was vacuumed away and then cleaned again with another acid rinse using more Grout Clean-up and rinsed and extracted afterwards.

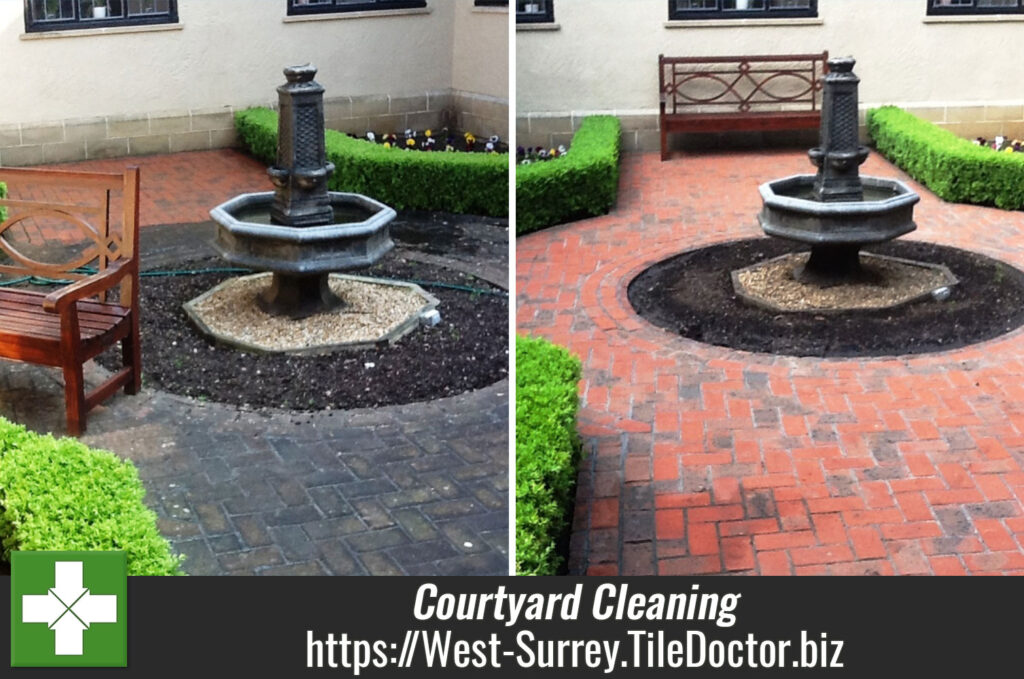
It was two days hard graft but as you can see the patio was completely transformed and as you might expect my customer was very relieved.

Professional Grout Haze Removal Service in West Surrey
Rescuing a Grout Stained Newly Laid Terracotta Tiled Patio in Leatherhead Read More »