Neglected Slate Tiled Utility Room Floor Cleaned and Sealed in Farnham
The Slate floor in this room at a property in Farnham was in quite a state. “Heavily soiled” is a polite description. The floor was situated in the utility room and hadn’t been cleaned properly since the house was constructed ten years ago.
The room was mainly used as a dumping ground for walking boots and was also where the dog slept. Being out of sight it was therefore out of mind but eventually they decided it was time to do something about it and reached out to Tile Doctor for help.
 |
 |
I visited the property, surveyed the tiles and was confident the floor could be restored! From my survey I was also able to provide a quote for a deep clean and seal of the Slate tiles which was accepted and a date set for my return.
Cleaning a Slate Tiled Utility Room Floor
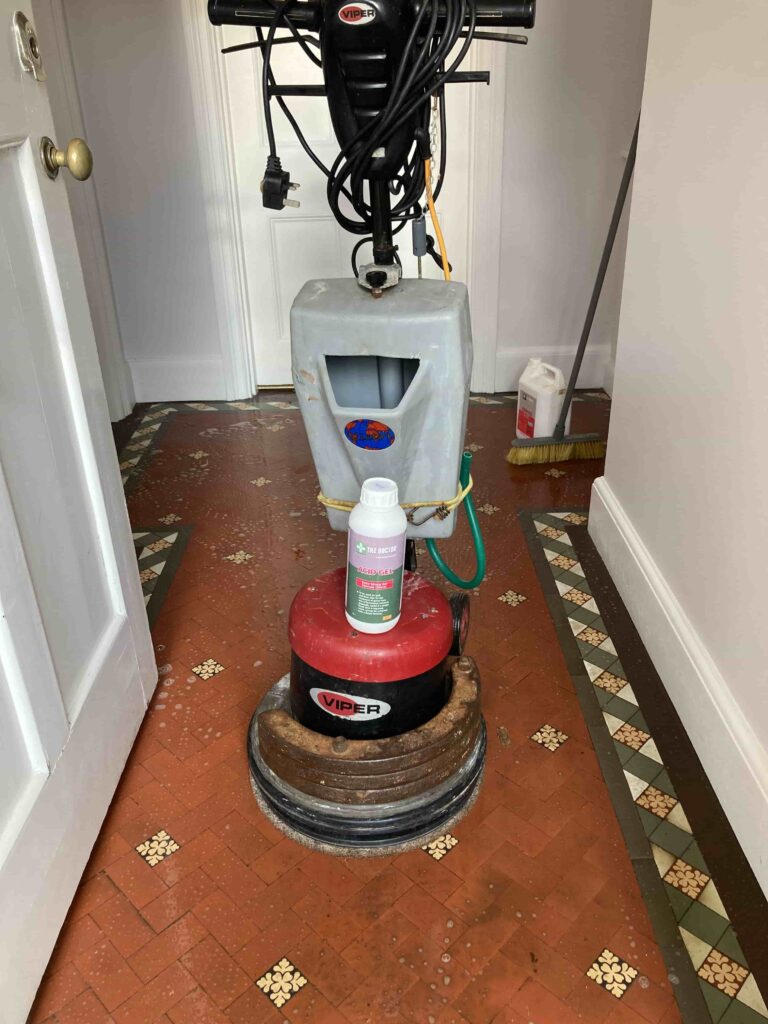
I cleaned the grout first with Tile Doctor Pro-Clean, this was done using the usual method of applying it directly to the grout and leaving it to soak in for ten minutes before using an abrasive wire brush to scrub the grout clean. The floor was then rinsed then the waste extracted with a wet vacuum. This was repeated until I was happy the grout was as clean as possible.
 |
 |
Next up, I sprayed a strong dilution of more Tile Doctor Pro Clean over the tiles and left it to dwell this time for twenty minutes. The surface gradually turned yellow indicating that the product was working. Then using a tough carbide brush attached to a handheld polisher I slowly cleaned the tiles. Slate has a riven surface with lots of nooks and crannies that the brush can get into. All the waste soil was removed again with a wet vacuum and I then neutralised the floor rinsing it twice with hot water.
 |
 |
Sealing a Slate Tiled Utility Room Floor
For the next hour or so I dried the floor with a heater and while waiting I cleaned the small brick patio by the front door which made the entrance look a lot more inviting!
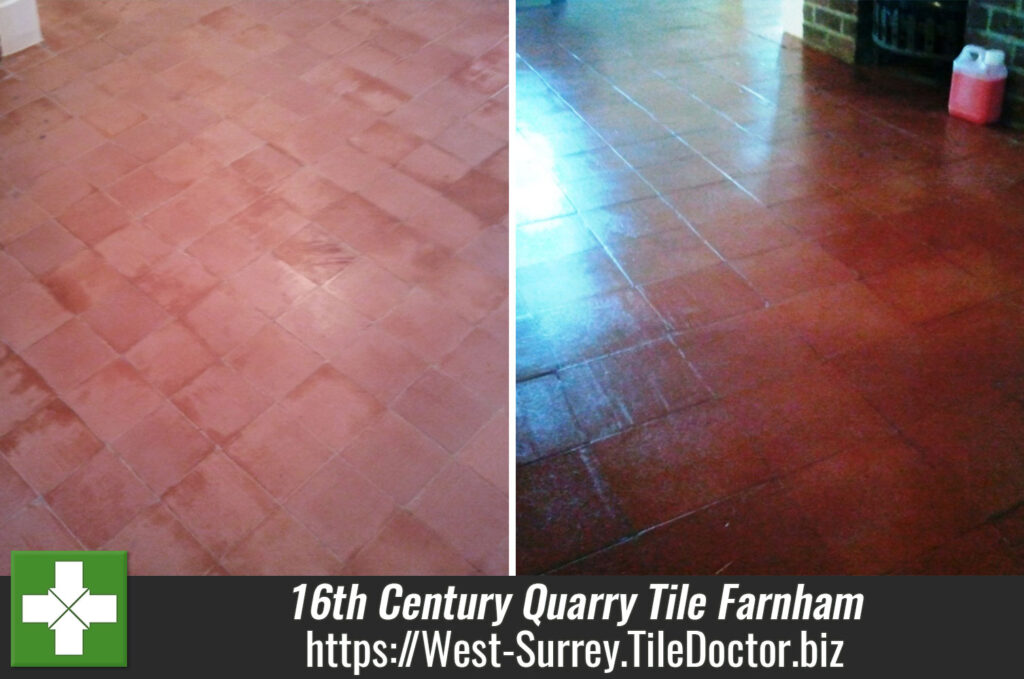
Once the floor looked dry, I tested with the damp meter to make sure it was ready to seal. Satisfied the levels were good, I applied three coats of Tile Doctor Seal and Go Extra. This is a moder tough sealer that’s ideal for busy floors that leaves an attractive sheen finish.
Once dry the floor looked so much clear and appealing, much to the relief of my client who was very happy with the work we carried out- and so was the dog!
 |
 |
For aftercare I recommended using Tile Doctor Neutral Cleaner which is a Neutral pH tile and grout cleaner and will help ensure the floor stays in great condition for many years to come. It always worth readying the label of a Tile Cleaning product to check its suitable for use on a sealed floor as most household products are usually acidic and can trip a sealant off a floor with repeated use.
Professional Restoration of a Slate Tiled Utility Room in West Surrey
Neglected Slate Tiled Utility Room Floor Cleaned and Sealed in Farnham Read More »