Ultra-Seal

Limestone Kitchen Floor Cleaning and Polishing Weybridge

Large Limestone Tiled Floor Stripped and Resealed in Weybridge

The photographs below were taken at a property in Weybridge where the owner had Limestone tiles installed throughout the Kitchen and adjacent dining room. Like any stone floor the sealer and appearance will degrade with use and in this case the tiles and especially the grout had become darker with ingrained dirt. The owners had decided it was time to the floor professionally cleaned and asked me to quote for the work.

Limestone is a beautiful stone that cleans up really well but to get the best out of it needs to be polished with burnishing pads using heavy equipment, something the tile shop salesman usually forgets to mention.

Limestone Kitchen Floor Before Cleaning Weybridge

Having surveyed the floor I worked out a renovation plan which included tile and grout cleaning, stone polishing and finally sealing to protect it going forward. Happy with my quote we set a date for the work to begin.

Resealing a Polished Limestone Floor

My first job was to protect the kitchen cabinets from splashing with a sheet of decorator’s plastic about a foot from the ground upwards. I also like to apply a thin line of transparent mastic at the base of the cabinets where they meet the tile as this is usually a place where unwanted water can find its way in.

Once the kitchen woodwork was protected, I set about deep cleaning the grout. To do this I run a dilution of Tile Doctor Pro-Clean along the grout lines then leave it to dwell for five minutes and then scrubbed by hand using a wire brush until clean. All the waste is then rinsed off and extracted with a wet vacuum.

With the grout now clean and the soil removed I set up my rotary floor cleaning machine ready to burnish the stone tile and restore the finish with a set of diamond encrusted burnishing pads.

The first pad in the set to be applied is a coarse 400 grit pad that is designed to open the pores of the stone allowing dirt to be flushed out and removes existing sealers in the process. Water is used for lubrication and the during the following hours the process was repeated with the medium 800 grit and fine 1500 grit pads which gradually close the pores, buildup the polish and return the shine. This is a wet process which generates a slurry which is removed with after each pad with the wet vacuum.

Once the whole floor had been burnished it was given a final rinse and dried as much as possible with the wet vacuum. It was then left to fully dry off fully overnight.

Sealing Limestone Tiles

Returning the next day, I tested the floor was dry with a damp meter which confirmed the floor ready for sealing. The customer wanted a natural look to the floor so we chose to apply Tile Doctor Ultra-Seal which adds almost invisible protection. This sealer is an impregnator which soaks into the pores of the stone preventing dirt from becoming ingrained and keeping it on the surface where it can be easily removed. Two coats were applied and this should keep the floor protected for many years to come.

Limestone Kitchen Floor After Cleaning and Polishing Weybridge

Once complete I advised the owner to stay off the floor for an hour or so and then they can return the furniture. For aftercare cleaning I recommend Tile Doctor Stone Soap which is a gentle but effective cleaner that will keep the floor clean whilst maintaining the patina and without harming the sealer.


Stripping and Resealing a Polished Limestone Floor in West Surrey

Large Limestone Tiled Floor Stripped and Resealed in Weybridge Read More »

Travertine Kitchen Tile Renovation Cobham

Travertine Floor Tiles Cleaned and Sealed in a Cobham Kitchen

The property in Cobham had a large Travertine tiled floor in the kitchen, which was not looking its best, and was now in need of a deep clean and re-seal to bring it back to life.

Travertine Kitchen Tile Before Cleaning Cobham

Travertine is a beautiful, natural stone that needs some regular attention to keep it looking at its best. Like any natural stone its vulnerable to dirt becoming ingrained in the pores and to prevent this it needs to be sealed. A sealer keeps the dirt on the surface where it can be easily removed through regular cleaning, however a sealer will usually only last for three to four years depending on how the floor is used and maintained.

Another issue specific to Travertine is its acid sensitivity which comes from the calcium carbonate that it’s formed from. You need to be careful not to use acidic products on the stone as this can cause it to dissolve over time leading to pitts and potentially holes forming in the surface. If the pitts are not filled they will attract dirt easily making the floor hard to keep clean.

Travertine Kitchen Tile Before Cleaning Cobham Travertine Kitchen Tile Before Cleaning Cobham

I visited the property to survey the floor and gave the client a price for its renovation which would take two days. Whilst there I also carried out a small cleaning test to ascertain the best cleaning method and to demonstrate what could be achieved. They were happy to go ahead with the quote so we agreed a suitable date for the work to start.

Cleaning a Travertine Tiled Kitchen Floor

On day one I started by wrapping the kitchen cabinets in decorator’s plastic to protected them and applied a thin line of mastic where the tiles meet the floor. This is done to keep unwanted water out during the cleaning process.

The travertine floor had been laid using different sizes of tile in an irregular pattern which resulted in a lot of grout lines that needed cleaning. I find the best way to do this is with Tile Doctor Pro-Clean, scrubbing it in by hand with a wire brush, its hard work but its effective although it did take up most of the morning. Afterwards the grout was rinsed with water and the waste removed with a wet vacuum.

After lunch, I turned my attention to the tiles which needed to be burnished using a series of diamond pads fitted to a buffing machine fitted with extra weight to increase traction. Work started with the application of a coarse 400-grit pad which is run over each tile three to four times using only water for lubrication. The floor was then rinsed and the soiling extracted before moving onto the next pad in the series which is 800-grit and then onto 1500-grit.

This wet process pores in the stone allowing the dirt to be flushed out and then slowly closes them again leaving the floor clean and ready for sealing. By the end of day one all the Stone and Grout was clean and was left to dry out overnight.

Sealing a Travertine Tiled Kitchen Floor

The following day I checked the moisture levels of the floor with a damp meter to make sure it was dry and ready to accept a sealer. The results were good, so I set about applying the first of what would be two coats of Tile Doctor Ultra-Seal. This sealer is an impregnator that soaks into the pores of the stone preventing dirt from becoming ingrained there, it doesn’t contain a colour enhancer so leaves a very natural finish.

Travertine Kitchen Tile After Cleaning Sealing Cobham

The floor was then once polished with the final burnishing pad in the set which is a very fine 3000-grit, this last pad removes any excess sealer and leaves a nice subtle appealing shine on the floor. The client was very happy with the finish we had achieved, the floor now has a lovely sheen and should stay looking good for some time.

Travertine Kitchen Tile After Cleaning Sealing Cobham

For aftercare cleaning I recommended the use of Tile Doctor Stone Soap which is ideal for sealed stone floors. Not only is it pH neutral so its safe to use on sealed travertine but it also includes a patina enhancer that will help maintain the shine.


Professional Renovation of a Travertine Tiled Kitchen Floor in West Surrey

Travertine Floor Tiles Cleaned and Sealed in a Cobham Kitchen Read More »

Exterior Ceramic Tiled Rooftop Patio Grout Cleaning Guildford

Grout Cleaning a Ceramic Tiled Rooftop Patio in Guildford

How about this for something different, a roof top patio in Guilford that was tiled with Ceramic Tiles. The work has been done some years prior and I understand from the owner that a crane was needed to bring all the materials onto site. The owner had called me in because grout had turned brown and there was what appeared to be limescale forming in some places.

Ceramic tiles by their very nature are very easy to clean however grout can be problematic due to its cementitious rough texture that can trap dirt and cause it to discolour. Ceramic tiles actually make the problem worse as their glazed coating makes them impervious and dirt washes off the tile straight into the grout line.

Exterior Ceramic Tiled Rooftop Patio Before Grout Cleaning Guildford

It was clear to me that deep cleaning the grout would improve the general appearance of the patio and after agreeing the solution with the client a date was agreed for my return to do the work which should only take a day. I needed a dry period to do the work and fortunately the weather gods were in our favour so the date worked out.

Cleaning a Ceramic Tiled Patio Floor

I returned on the scheduled date and set about preparing the tile and grout with strong dilution of Tile Doctor Pro-Clean. This product is our go to tile and grout cleaning product and works best when left to soak in for ten minutes first. I then scrubbed all the grout lines by hand with a wire brush to really work the solution into the grout and get the best result. Once done the now dirty cleaning solution was rinsed off with water and extracted with a wet vacuum.

Although an improvement there were several areas that had experienced deep seated staining. I suspect the overhanging trees and other greenery were to blame for some of the staining but being outside and exposed to the British weather can also cause issues. To resolve I removed the stained grouting by running a sharp blade along the joints and a Fein oscillating tool. Once done the grout was replaced with a matching product.

Next, I removed the limescale with Tile Doctor Grout Clean-up and a Stanley blade. For maximum effect the product is left to soak in for around twenty minutes first so I used this time to bring up my machinery in preparation for cleaning the tiles. I use a rotary floor cleaner fitted with a black nylon pad to remove the dirt. After vacuuming away the limescale and other detritus I cleared the area of all tools so I could seal the grout.

Sealing Grout on a Rooftop Patio

I left the patio to dry out for a few hours and then proceeded to apply the sealant for which I used Tile Doctor Ultra-Seal. We find the best method is drop the sealer along the grout line using a Pipette and then to rub off the excess later.

Exterior Ceramic Tiled Rooftop Patio After Grout Cleaning Guildford

Sealing grout this way is a slow but very effective method but it’s worth doing as it will protect the grout from future staining, allowing it to keep its appearance for longer and make it easier to clean. I often get asked how long sealers last but it’s a tricky question to answer in this case as being external it really depends on the weather.


Professional Clean of a Ceramic Tiled Rooftop Patio in Surrey

Grout Cleaning a Ceramic Tiled Rooftop Patio in Guildford Read More »

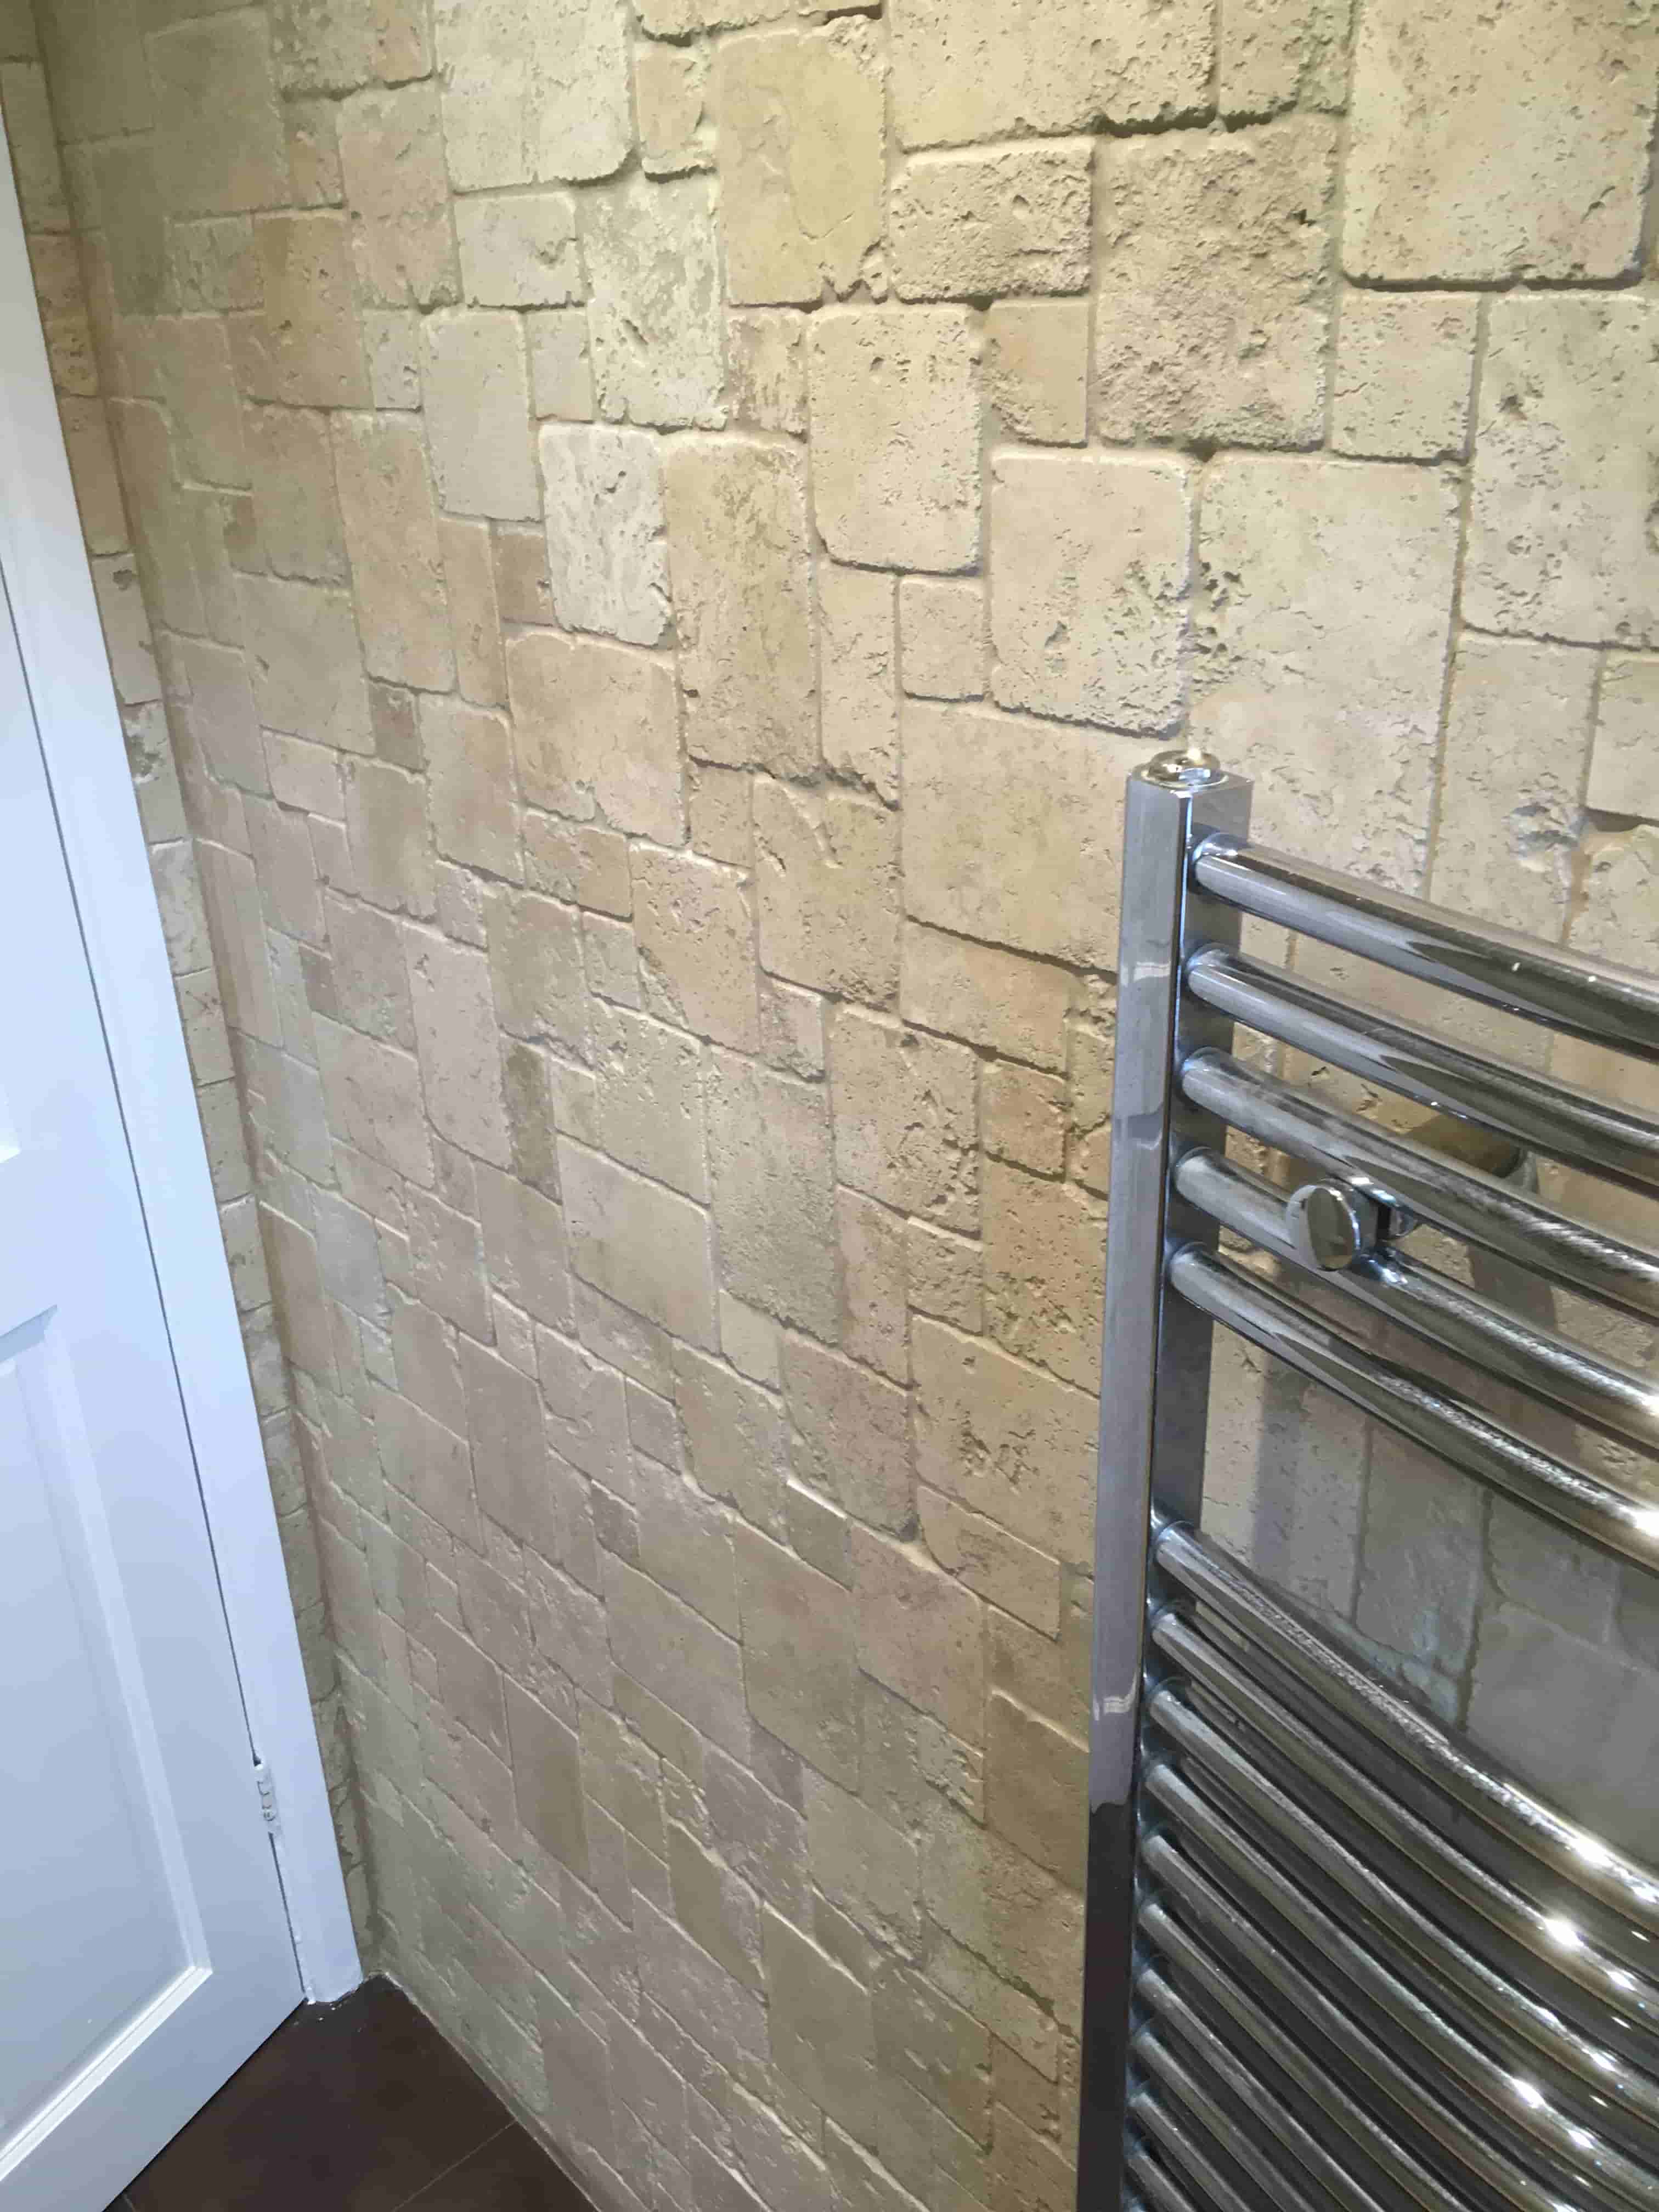
Travertine Tiled Wall Before After Replacing Sealer Weybridge

Changing the Sealer on a Travertine Bathroom Wall in Weybridge

A client had downsized to flat in Weybridge and before moving in had decided to have a new bathroom fitted which included the installation of Travertine wall tiling.

While she loved the stone, she didn’t like the colour enhancing sealer that the tiler had applied to enhance and protect the tiles. What was once a natural pale colour had turned into a shade of yellow. Unhappy with the colour and getting nowhere with the tiler she decided to call Tile Doctor and have it rectified.

Travertine Bathroom Wall Weybridge Flat Before Sealer Removed

The final appearance of stone whether it is laid on the floor or the wall is a very personal choice and very difficult to make until you see the finished result. I find colour enhancing sealers usually help to bring out the natural features and colours in the stone however I do find lots of clients asking for the natural look.

I’m afraid the photographs on this page didn’t come out that well, there was little natural light in the small bathroom and so they don’t really do the Travertine tiles justice.

Stripping a Colour Enhancing Sealer from Travertine Wall Tiles

To resolve the problem, I first had to remove the old sealer which was done by wetting the walls with water and then applying Tile Doctor Oxy-Gel. Being a gel this tile cleaning product sticks to vertical surfaces allowing for longer dwell times. This was then left to soak in for about half an hour, then using a set of four six-inch diamond burnishing pads, I slowly burnished the walls until the sealer was removed.

The process of burnishing is a messy business and involves the application of four different grades of pad starting with a coarse pad and ending with a polishing pad. The process does generate a fine soil, thankfully being in the bathroom however it was easier to contain. The soiling was removed using more water and a wet vacuum.

I then speed dried the room with a large warm air blower so I could apply the new sealer later in the day.

Sealing a Travertine Tiled Bathroom Wall

After lunch I checked the Travertine wall tiles for moisture using a damp meter and it confirmed they were dry and ready for sealing. To seal I applied a couple of coats of Tile Doctor Ultra-Seal which adds protection but is also invisible leaving the stone with a natural look. This was not a colour enhancing product as per the client’s earlier instruction.

Finally, I cleared up the mess and polished the glass shower screen whilst I was waiting for the sealer to dry. Needless to say, my client was very happy and finally had the desired appearance.

Travertine Bathroom Wall Weybridge Flat After Sealing

For after care I recommend the use of Tile Doctor Aqua-Pro which is a mild but effective cleaner that isn’t too strong for use on sealed stone and can be used daily after a shower. This will keep the sealer in the best condition and the bathroom looking pristine.


Professional Restoration of a Travertine Tiled Bathroom in West Surrey

Changing the Sealer on a Travertine Bathroom Wall in Weybridge Read More »

Scroll to Top