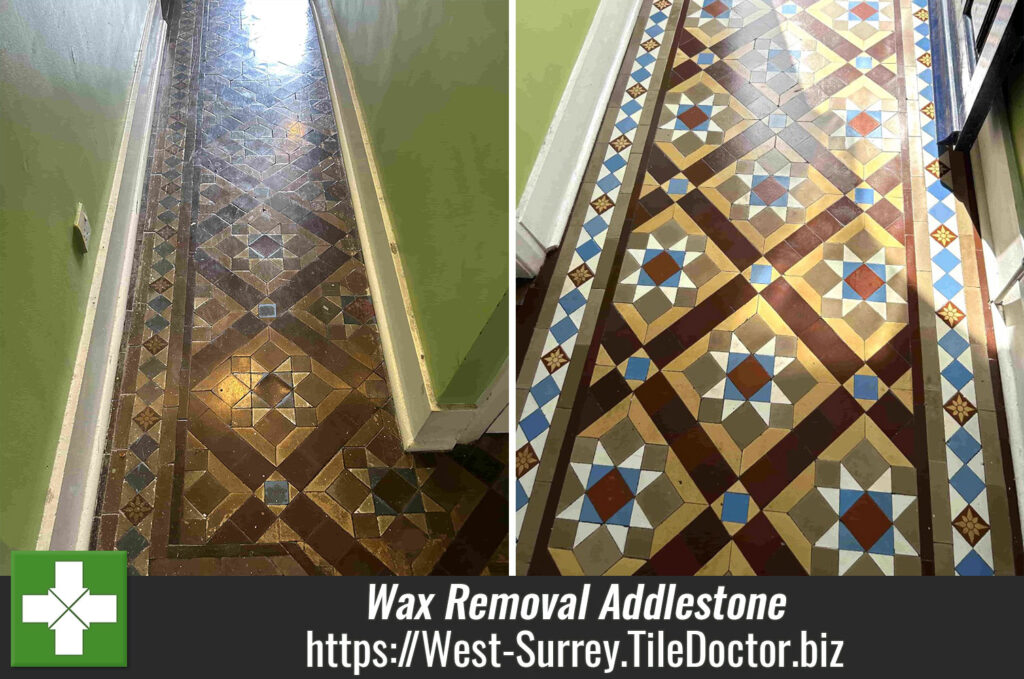
Victorian Tiled School Hallway Resurrected in Guildford
The maintenance staff at school in Guilford uncovered a beautiful Victorian tiled floor under carpet at the entrance. The carpet had been secured with a very thick layer of adhesive and unsure how to proceed they contacted Tile Doctor for advice.
I popped over to take a look and conducted a test clean on part of the floor to see how it might respond to various cleaning options. From this I could see the floor had been covered with a thin layer of self-leveller as well as the adhesive. This would need to be softened and then scrapped off the whole floor a task which would be very labour intensive.

The school was keen to restore the floor and so I was asked to work out a quote for its restoration. The quote was accepted and date agreed with the maintenance team for the next time the school would be empty. In the meantime, the carpet was rolled back into position so the floor could still be used.
Cleaning a Victorian Tiled Hallway Floor
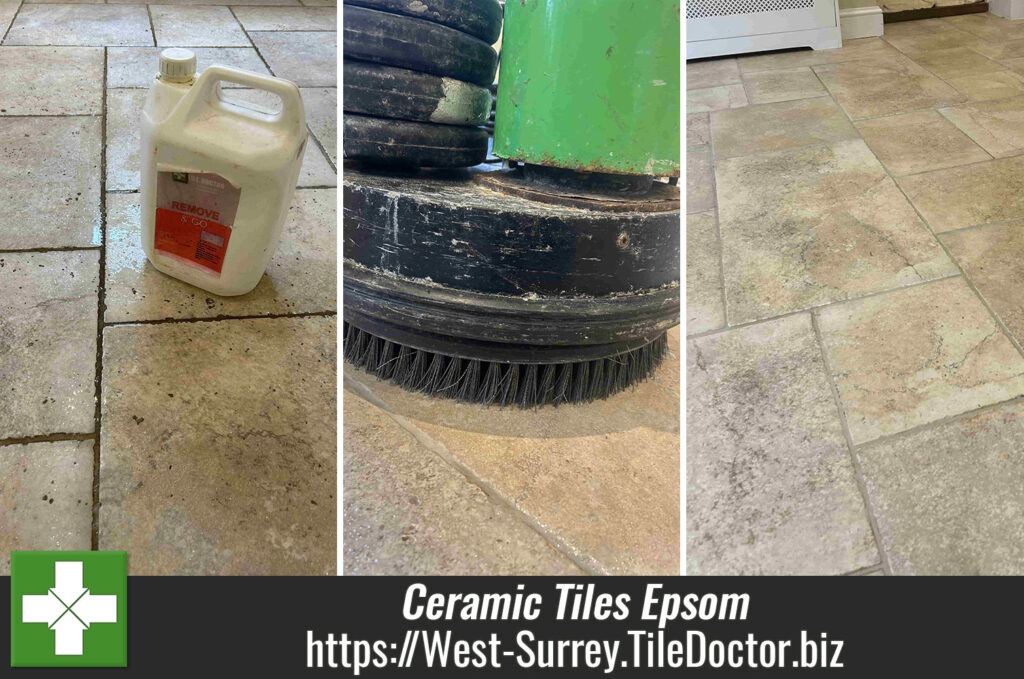
I returned on the scheduled date and once the maintenance staff had removed the carpet, I was able to start work on removing the glue and cement of the self-levelling compound. To do this I worked in sections starting with coating the floor with a strong dilution of Tile Doctor Remove & Go. This product is an alkaline stripper that soaks int the coatings and starts to break them down.
The Remove & Go was left to soak in for fifteen minutes before work started on carefully scrapping the glue and cement off the surface of the tiles. After hours of scrapping the waste was vacuumed away using a wet vax.
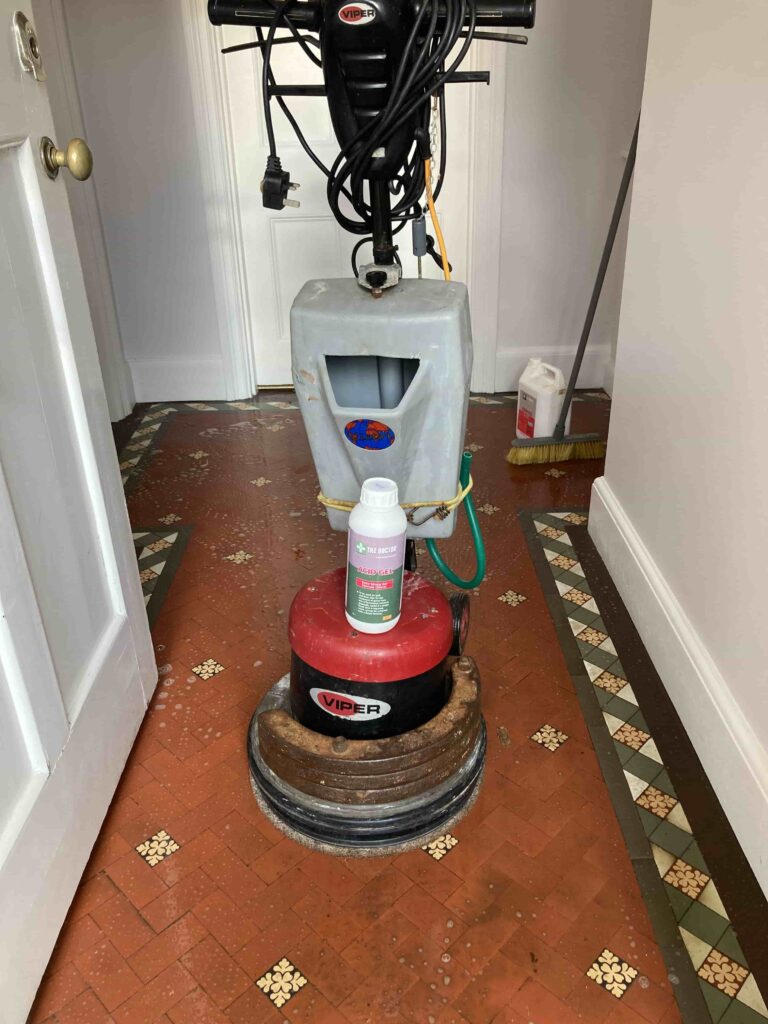
This left some residue over the tiles so they were given a further clean using more Remove and Go and a 17-inch wire brush attached to a rotary floor polisher. Again, all waste was removed as before and then the floor was left to dry off overnight.

I returned the next day to review the floor and complete any further cleaning and remove any remaining adhesive including around the edges.
Sealing a Victorian Tiled Hallway Floor
Once I was happy the floor was completely clean and free of adhesive and self-leveller work was progressed onto the final stage of the restoration which involves applying a protective sealer.
For this several coats of Tile Doctor Seal & Go were applied allowing 30-minute drying time between coats. This is a specially formulated water-based blend of acrylic polymers that provides both a stain resistant surface seal and a durable low-sheen finish.
Once complete the beauty of the floor really stood out and made for a very attractive entrance that looks great as you approach the school entrance.

For the aftercare of Victorian tiled floors, I recommended the use of Tile Doctor Neutral Tile Cleaner which due to its neutral ph makes it idea for the regular cleaning of sealed tiles. Many of the products you will find in supermarkets are simply too strong and will prematurely erode the sealer on a tile and so best avoided.
Professional Restoration of a Victorian Tiled Hallway in West Surrey
Victorian Tiled School Hallway Resurrected in Guildford Read More »