Original Quarry Tiled Hallway Given New Life in Haslemere
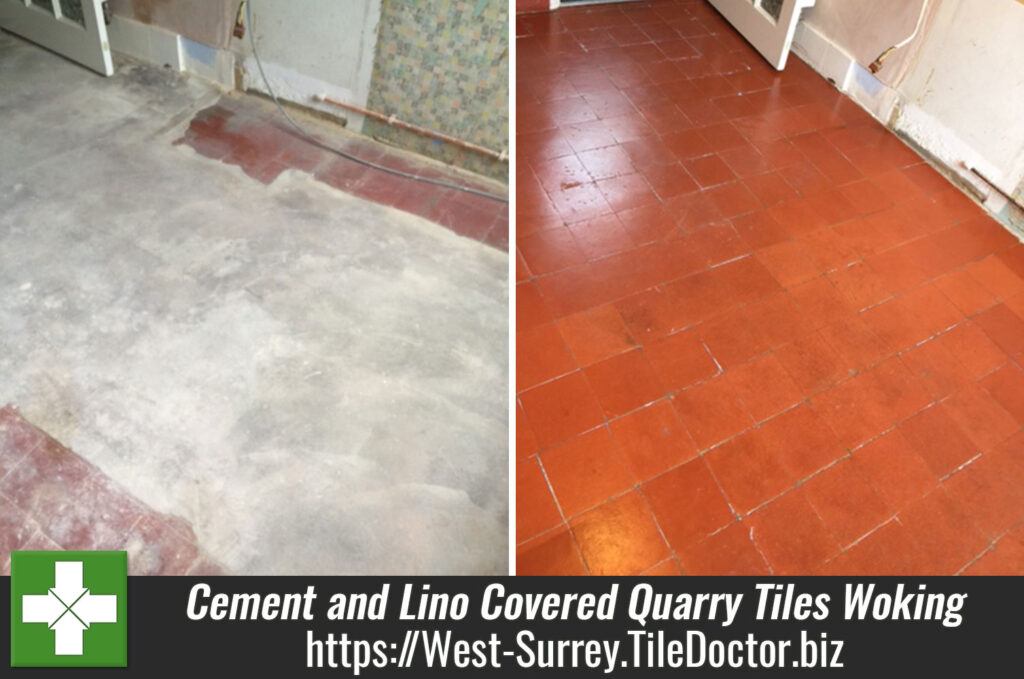
As the West Surrey Tile Doctor I cover quite a large area including Haslemere which is a town on the South-Western edge of the county in the borough of Waverley. I was down there to visit a customer who had recently bought an old property there and during the renovations uncovered six foot of quarry tiles by the front door. There was a patch of concrete that also needed investigating.
 |
 |
Cleaning Hallway Quarry Tiles
I began by carefully removing the layer of concrete with a scraper and a covering of Tile Doctor Acid-Gel hoping it would expose more quarry tiles underneath. Sadly, this wasn’t the case and all I exposed was an area of ruined quarry tiles and four buried bricks. These would have to be removed then filled to bring them to the same level as the remaining tile so I could lay new tiles their place. A couple of noisy hours later following drilling and violent chisel work I’d removed enough to lay flat tiles.
I spent the next hour cleaning and preparing the remaining good tiles. After years of being covered by carpet there was a fair amount of adhesive to remove. This was loosened with Tile Doctor Remove and Go and small abrasive hand-held Diamond blocks to get into the corners.
The Remove and Go was applied to the tiles, left to soak in for ten minutes and then worked into the tile and grout with a stiff brush. The then the soiled solution was rinsed off and extracted using a wet vacuum. Following this work the tiles looked clean but worn out and colourless which is not unusual for this stage of the process and would be resolved once a sealer had been applied.
Tiles were then cut to measure then fixed in place with a rapid adhesive in line with the originals. Once they had set they were grouted in with a grout that closely matched the original. The rest of the floor was inspected at this point and any holes filled with more grout until flat. The grout and tiles were left to dry which was a good opportunity for me to eat lunch.
Sealing Original Quarry Tiles
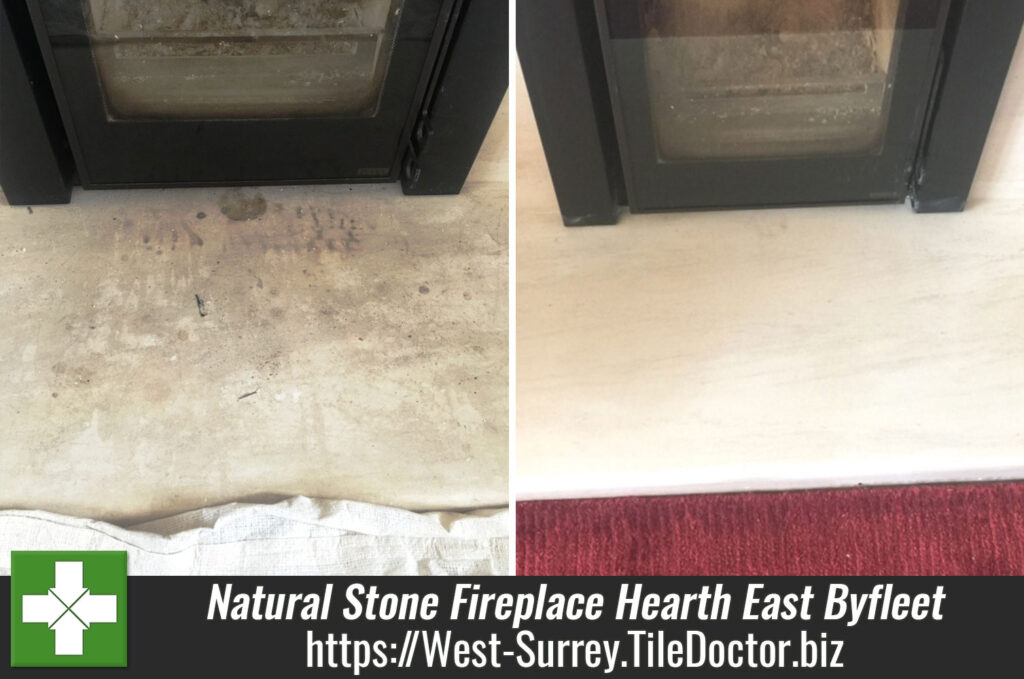
It was only a small area so later that afternoon the tile and grout and I was able to finish the restoration with the application of two coats of sealer. On this occasion I chose to use Tile Doctor Colour Grow which is an impregnating sealer that soaks into the pores of the clay Quarry tiles protecting them from within and also enhancing the red colours in the tile.

“Rupert was absolutely brilliant. Very friendly and professional, worked cleanly and totally rejuvenated our quarry tile entryway. Would definitely call him again and recommend to friends.”
Professional Restoration of an Original Quarry Tiled Hallway Floor in Surrey
Original Quarry Tiled Hallway Given New Life in Haslemere Read More »