Work by Category

West-Surrey-Tile-Doctor

Welcome to my Work History archive where you will find detailed examples of Tile, Grout and Stone Cleaning and Renovation work carried out through West Surrey.

To make things easier to find I have organised the posts by the most popular types of Tile and Stone. I also renovate other materials so if you’re looking for something else do get in touch as it’s highly likely we have the solution.

Popular requests include Ceramic Tile, Encaustic Cement, Fireplaces, Flagstone Pavers, Grout Cleaning, Limestone, Marble, Porcelain Tile, Quarry Tile, Sandstone, Slate, Terracotta Tile, Terrazzo Floors, Travertine, Victorian Flooring and Vinyl Floors.

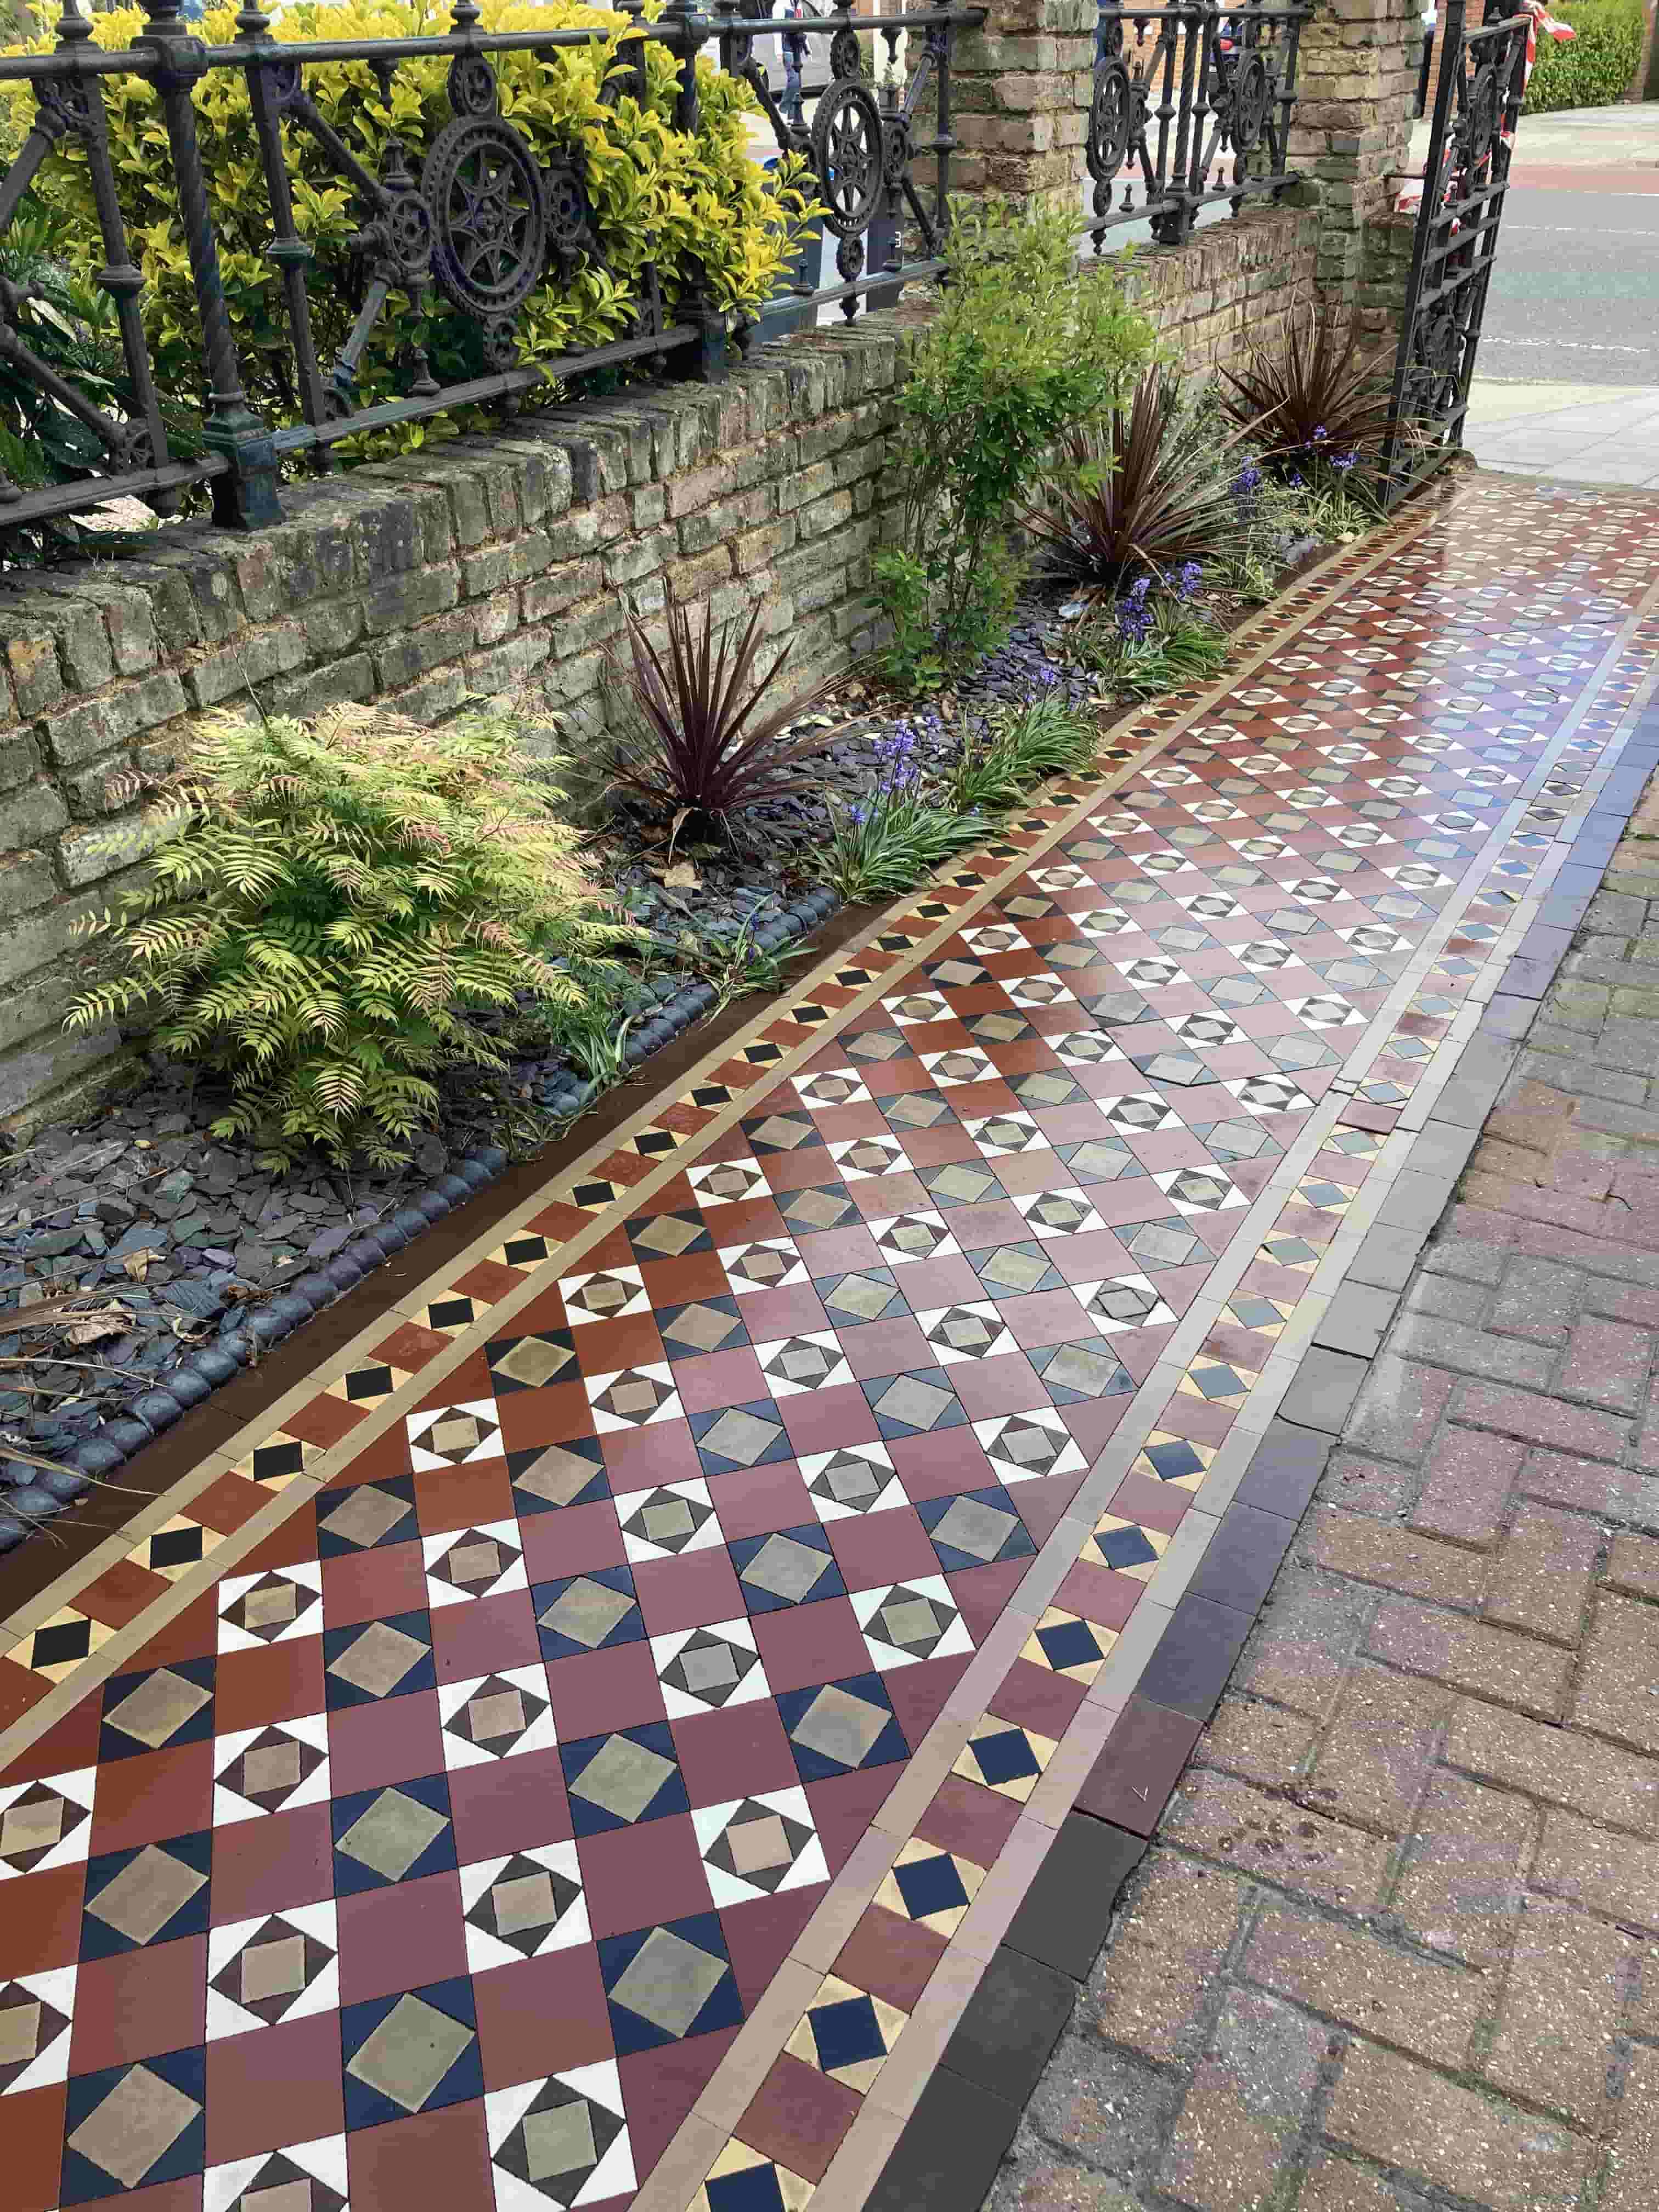
Victorian Black White Pathway Repair Restoration Surbiton

Neglected Black & White Victorian Tiled Pathway Restored in Surbiton

Over the past ten years I’ve restored many tiled pathways, however none were in such a poor state as this example in Surbiton. Unfortunately, it had been badly installed and then further “repairs” by the customers ex father In-law hadn’t helped. I certainly had my work cut out and working outside of course has its own challenges.

Victorian Black White Pathway Before Restoration Surbiton Victorian Black White Pathway Before Restoration Surbiton

Repairing a Neglected Victorian Tiled Pathway

The first task was to clear the area of plant life and other detritus, all the existing holes had to be totally cleaned out so I could see exactly what I was dealing with. I discovered the foundation of the path was not very deep and this had allowed it to be disturbed by adjacent rose bushes so these had to be chopped back and the roots removed. I also had to rope-off the area as anyone treading on the path would dislodge further tiles resulting in Amazon and the postwoman having to take a more cumbersome route.

The next step was to remove the existing concrete edging, now normally I wouldn’t do this as I’m not a building contractor however given the problems with the path foundations it made sense. Additionally new steel edging would form an excellent base and straight line from which I could re-build the path. I had to break the concrete edging out with a power chisel and left the pieces in building sacks for the customer to dispose of. The customer supplied the replacement metal edging which is joined together, worked into the ground with a sledgehammer and then secured with foot long metal stakes.

Victorian Black White Pathway During Restoration Surbiton Victorian Black White Pathway During Restoration Surbiton

The next day were spent cleaning up three buckets of loose tiles in the rear garden. These had been reclaimed over the years. I knew we would be short of replacements so I also ordered matching Victorian tiles from the Vintage Tile Company in Margate. The only way to clean them up effectively is with a wet tile cutting machine whizzing down the edges. It’s a wet, messy, noisy business made harder by the incoming rain. It took all day to make 100’s of tiles acceptable. It was tedious work but made more enjoyable by the numerous cups of tea that were made available.

Victorian Black White Pathway During Restoration Surbiton Victorian Black White Pathway During Restoration Surbiton

The next day was spent removing and cleaning up the existing broken base. Once removed I filled the holes and gaps with self-levelling compound. Thankfully the new metal straight edges allowed the compound to level out nicely. It was then left to set over night.

Victorian Black White Pathway During Restoration Surbiton Victorian Black White Pathway During Restoration Surbiton

The next two days were spent tiling. I had three buckets and two boxes of tiles to use. It’s a slow process that sometimes you need to step away from to make sure you’d used the correct colour and pattern. The customers ex father in-law hadn’t done this so rogue tiles were removed.

Deep Cleaning a Neglected Victorian Tiled Pathway

Once I had finished repairing the tiles on the pathway, I was able to move onto what I know best, i.e., cleaning and sealing the whole area. This work began by coating the path in a strong dilution of Tile Doctor Remove and Go which as the name suggests is a coatings remover that breaks down dirt, old sealers and other contaminates. As usual it was left to dwell for ten to fifteen minutes to give it time to break down the soils.

Then I introduced a heavily weighted buffing machine fitted with a 100-grit diamond pad to scrub the product into the tile. The industrial diamonds in the pad slightly cut the tiles resulting in a Black and White slurry. This is then rinsed with water then extracted with a wet vacuum cleaner.

Sealing a Victorian Tiled Pathway

Once the tiles had dried from the warm Sun, I was able to start applying the sealer which for these tiles I applied Tile Doctor X-Tra Seal. This is a modern oil-based sealer that is rated for external use and contains UV protection thereby providing excellent protection and making the tiles very easy to maintain.

Victorian Black White Pathway After Restoration Surbiton Victorian Black White Pathway After Restoration Surbiton

This was a long job that due to being outside I had to come back to due to the weather, so it took longer expected but I think the transformation speaks for itself. Lastly for aftercare cleaning I recommended the use of Tile Doctor Neutral Tile Cleaner. Most tile cleaning products you find in supermarkets are simply too strong for the sealer and can degrade them prematurely.


Professional Victorian Tiled Pathway Repaired and Restored in Surrey

Neglected Black & White Victorian Tiled Pathway Restored in Surbiton Read More »

Block Paved Patio Cleaning in Weybridge

Brick Block Paved Patio Cleaning in Weybridge

This is a great example of a Block Paved Patio at a house in Weybridge that I was asked to renovate. Garden patios are exposed to a multitude of elements in this country, wind, rain, snow etc. They are often surrounded by vegetation. The rough nature of block paving and stone attracts dirt so it can benefit from an annual deep clean to keep them in check.

Block Paved Patio Before Deep Cleaning in Weybridge

Another problem we face is black spot from lichen which thrives on rough surfaces in the damp and shady conditions that are so common in the UK. The characteristics of the lichen are that as it matures, it sends out tendrils (hyphae) into the pores of the material seeking nutrients from the minerals in the brick and the detritus that collects on the patio. These gradually spread through the affected surface.

I visited the property to take a detailed look at the patio and decide on the best remedy to get it renovated. I discussed the process with them, gave them a price and arranged a time to return to complete the work.

Cleaning a Brick Block Paved Patio

I find the most effective way to clean a patio affected by the UK weather is to start with an industrial jet wash. These machines are quite powerful and apply water under high pressure to dislodge the detritus and exposes what lies beneath.

The next step was to carefully apply Tile Doctor Patio & Brick Driveway Cleaner, it is a very strong product sold for professional use. Due to its’ high strength you need to wear rubber gloves and eye protection, however you need to use a powerful product like this to power through the blackspots, lichen, moss, and stains.

For the best results you need to allow this product to soak in for at least thirty minutes before scrubbing it in with a deck brush and then rinsing off with water. For deep staining you need to leave the product on for longer.

Once done we made sure the area was thoroughly rinsed with water. There is no need for this type of patio to be sealed. However, we did recommend scheduling in an annual return visit to keep the driveway in good condition, we do offer a Tile Doctor Maintenance plan.

Block Paved Patio After Deep Cleaning in Weybridge

As you can see from this example the method worked well and the patio came up like new. Needless to say, my client was very happy with the work we carried out.

It’s worth knowing that Tile Doctors have the equipment and products to clean all types of hard surfaces internal and external so if you need help with your driveway or patio do get in touch.


Professional Renovation of a Brick Block Paved Patio in West Surrey

Brick Block Paved Patio Cleaning in Weybridge Read More »

Victorian Tiled Path Restoration Surbiton

Damaged Victorian Tiled Pathway Fully Restored in Surbiton

I was contacted in February last year by a homeowner in Surbiton regarding the Victorian Path at the front of their property which was in a really bad state. I’ve restored a number of these pathways in the past so I was more than happy to pop over and provide a quote for doing the work. I did mention though that February was not a good time to do the work due to the poor weather and that the work would be done in the spring at the earliest.

Victorian Pathway Before Restoration Surbiton

The path was indeed in a bad state as described so after survey the path and making detailed notes it took me some time to put the quote together. There was extensive damage in two areas and a large crack close to the house. Original vintage tiles are generally available though sometimes stock can run low. I took notes of size, colour, and number needed while the customer made me a cup of tea. Happy with the quote we agreed I would return in May for three days to do the work.

Victorian Pathway Before Restoration Surbiton Victorian Pathway Before Restoration Surbiton

Restoring a Damaged Victorian Tiled Path

This type of job takes lot of preparation, the two areas had to be totally cleaned out, broken tiles removed, mud and foliage disposed of. Once that was done, I set about cleaning up the path and removing old tile adhesive with a power chisel where needed.

Next up was cleaning the remaining existing tiles. Using a yard broom, I spread five litres of Tile Doctor Acid Gel over the whole length from door to pavement. This was left to soak in for thirty minutes so it could really get to work breaking down the ingrained dirt. While this was working, I introduced in my weighted buffing machine, attached a coarse 200-grit diamond burnishing pad, and added some iron bars to weigh the machine down. More weight means improved contact and therefore a better result. Working my way from road to the front door the machine was run over each tile slowly removing the grime and ingrained dirt in the process.

Once complete, all residue and dirt was rinsed off the path and removed with a wet vacuum cleaner. After a quick wipe over with warm water the tiles were left to dry in the sun.

Repairing a Victorian Tiled Pathway

The following day I returned to carry out the tiling of the two gaps. Since quoting for the work in February I had plenty of time to source replacements that were an exact match for the originals. Victorian tiles are still very popular and there are several companies in the UK where you can find a good match for your project failing that there’s always eBay.

Armed with a bucket of adhesive and a tile cutter I spent the whole day laying what is essentially a tile pattern jigsaw. The path was then left to dry overnight. I also taped the area off like a crime scene to ensure pedestrians would steer clear.

Sealing a Victorian Tiled Pathway

The weather window held out and the next day I was able to move onto sealing the tiles with Tile Doctor X-Tra Seal. This is an oil-based sealer that is fully breathable sealer and will cope well with the ravages of the UK weather. The new sealer will protect the tiles for ingrained dirt going forward making the path very easy to clean. Also, the new sealer did a great job of blending in the new and replacement tiles.

Victorian Pathway After Restoration Surbiton Victorian Pathway After Restoration Surbiton

Once complete the path looked like it had only just been laid and was completely transformed by the work I had done. Needless to say, the owner of the property was very happy with the outcome and I bet the postman will be surprised the next time he visits.

Victorian Pathway After Restoration Surbiton

For aftercare cleaning I recommended the use of Tile Doctor Neutral Tile Cleaner. Most tile cleaning products you find in supermarkets are simply too strong for the sealer and can degrade them prematurely.


Professional Victorian Tiled Pathway Floor Maintenance in Surrey

Damaged Victorian Tiled Pathway Fully Restored in Surbiton Read More »

Exterior Ceramic Tiled Rooftop Patio Grout Cleaning Guildford

Grout Cleaning a Ceramic Tiled Rooftop Patio in Guildford

How about this for something different, a roof top patio in Guilford that was tiled with Ceramic Tiles. The work has been done some years prior and I understand from the owner that a crane was needed to bring all the materials onto site. The owner had called me in because grout had turned brown and there was what appeared to be limescale forming in some places.

Ceramic tiles by their very nature are very easy to clean however grout can be problematic due to its cementitious rough texture that can trap dirt and cause it to discolour. Ceramic tiles actually make the problem worse as their glazed coating makes them impervious and dirt washes off the tile straight into the grout line.

Exterior Ceramic Tiled Rooftop Patio Before Grout Cleaning Guildford

It was clear to me that deep cleaning the grout would improve the general appearance of the patio and after agreeing the solution with the client a date was agreed for my return to do the work which should only take a day. I needed a dry period to do the work and fortunately the weather gods were in our favour so the date worked out.

Cleaning a Ceramic Tiled Patio Floor

I returned on the scheduled date and set about preparing the tile and grout with strong dilution of Tile Doctor Pro-Clean. This product is our go to tile and grout cleaning product and works best when left to soak in for ten minutes first. I then scrubbed all the grout lines by hand with a wire brush to really work the solution into the grout and get the best result. Once done the now dirty cleaning solution was rinsed off with water and extracted with a wet vacuum.

Although an improvement there were several areas that had experienced deep seated staining. I suspect the overhanging trees and other greenery were to blame for some of the staining but being outside and exposed to the British weather can also cause issues. To resolve I removed the stained grouting by running a sharp blade along the joints and a Fein oscillating tool. Once done the grout was replaced with a matching product.

Next, I removed the limescale with Tile Doctor Grout Clean-up and a Stanley blade. For maximum effect the product is left to soak in for around twenty minutes first so I used this time to bring up my machinery in preparation for cleaning the tiles. I use a rotary floor cleaner fitted with a black nylon pad to remove the dirt. After vacuuming away the limescale and other detritus I cleared the area of all tools so I could seal the grout.

Sealing Grout on a Rooftop Patio

I left the patio to dry out for a few hours and then proceeded to apply the sealant for which I used Tile Doctor Ultra-Seal. We find the best method is drop the sealer along the grout line using a Pipette and then to rub off the excess later.

Exterior Ceramic Tiled Rooftop Patio After Grout Cleaning Guildford

Sealing grout this way is a slow but very effective method but it’s worth doing as it will protect the grout from future staining, allowing it to keep its appearance for longer and make it easier to clean. I often get asked how long sealers last but it’s a tricky question to answer in this case as being external it really depends on the weather.


Professional Clean of a Ceramic Tiled Rooftop Patio in Surrey

Grout Cleaning a Ceramic Tiled Rooftop Patio in Guildford Read More »

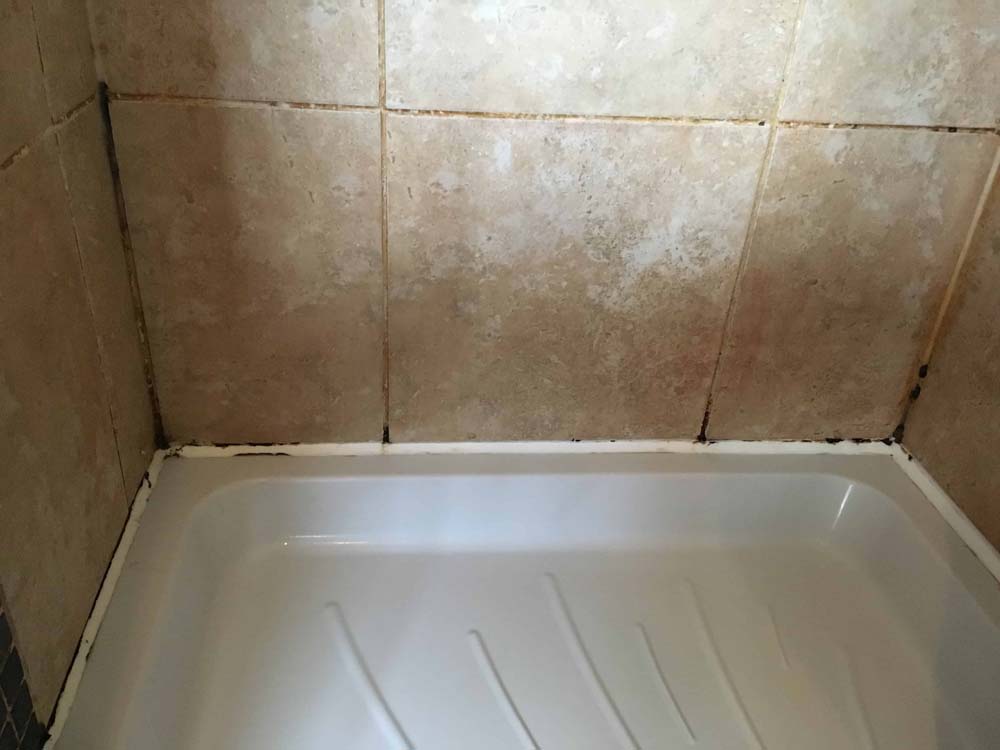
Travertine Tiled Shower Before After Reburb Oxshott

Mouldy Travertine Tiled Shower Cubicle Refurbished in Oxshott

I received a call from a customer in Oxshott regarding a Travertine Tiled Shower Cubicle which was grubby and needed refurbishing. As it turns out his wife was about to give birth to their first child and he wanted the bathroom shower cubicle cleaned asap.

Travertine Shower Cubicle Tiles Before Refurbishment Oxshott

The tiles were Travertine and apart from the usual staining from soaps etc I didn’t expect they would present too much trouble; however, the Grout was stained with dirt and mold and I could see this is where the focus would need to be.

Travertine Shower Cubicle Tiles Before Refurbishment Oxshott

Cleaning a Travertine Tiled Shower Cubicle

Focusing on the grout lines first I decided to apply a Tile and Grout cleaning product called Tile Doctor Duo Clean which comes with spray head for easy application. The spray mixes the solution with air making it lighter and sticks to the tiles more easily, it’s also good at breaking down mold.

With the dirt beginning to become loose and lifted out of the pores of the grout the next step was to apply a gel-based cleaner called Tile Doctor Oxy-Gel. Being a gel, it really sticks well to vertical surfaces allowing it to have a longer dwell time. Next step was to work the cleaning agents into the grout lines even further with a wire brush. After cleaning the dirt was rinsed off with water and the soiling removed with a wet vacuum.

The next step was to remove all the existing silicone mastic with a sharp knife from around the shower tray and along the verticals. Once mold gets a grip on the mastic sealant it’s very difficult to remove so easier to replace. Once all the rubbish was swept out, I dried any remaining dampness from the grout and tiles with a heat gun.

Travertine Shower Cubicle Tiles During Refurbishment Oxshott

Sealing a Travertine Tiled Shower Cubicle

The next step was to seal the Travertine tiles, they do have to be dry for that however it was such a small area I was able to speed up the drying process and it wasn’t long before I was able to start the application. For Travertine I like to use a sealer called Tile Doctor Colour Grow, as its name suggests it contains a colour enhancing formula which brings out the natural brown colours in the stone. Its also fully breathable and works by seeping into the pores of the stone protecting it from within.

Whilst waiting for the sealer to dry I also cleaned up the shower glass and replaced the mastic sealant I had stripped out after cleaning with an anti-mold product that should help prevent the problem in future.

Travertine Shower Cubicle Tiles After Refurbishment Oxshott

Before leaving I discussed the mold problem with my customer explaining that the best solution to that problem though is to increase ventilation as it thrives in humid conditions; other things you can do include leaving a window and door open afterwards to improve cross ventilation and you can also run cold water through the shower afterwards. With a sealed stone shower, you also must be careful what product you use to clean the tiles with afterwards, never use acidic products like limescale remover or bleach that can etch the stone. We recommend using Tile Doctor Aqua-Pro which is a mild but effective cleaner that can be applied after showering.


Travertine Tiled Shower Cubicle Cleaning and Grout Recolouring in Surrey

Mouldy Travertine Tiled Shower Cubicle Refurbished in Oxshott Read More »

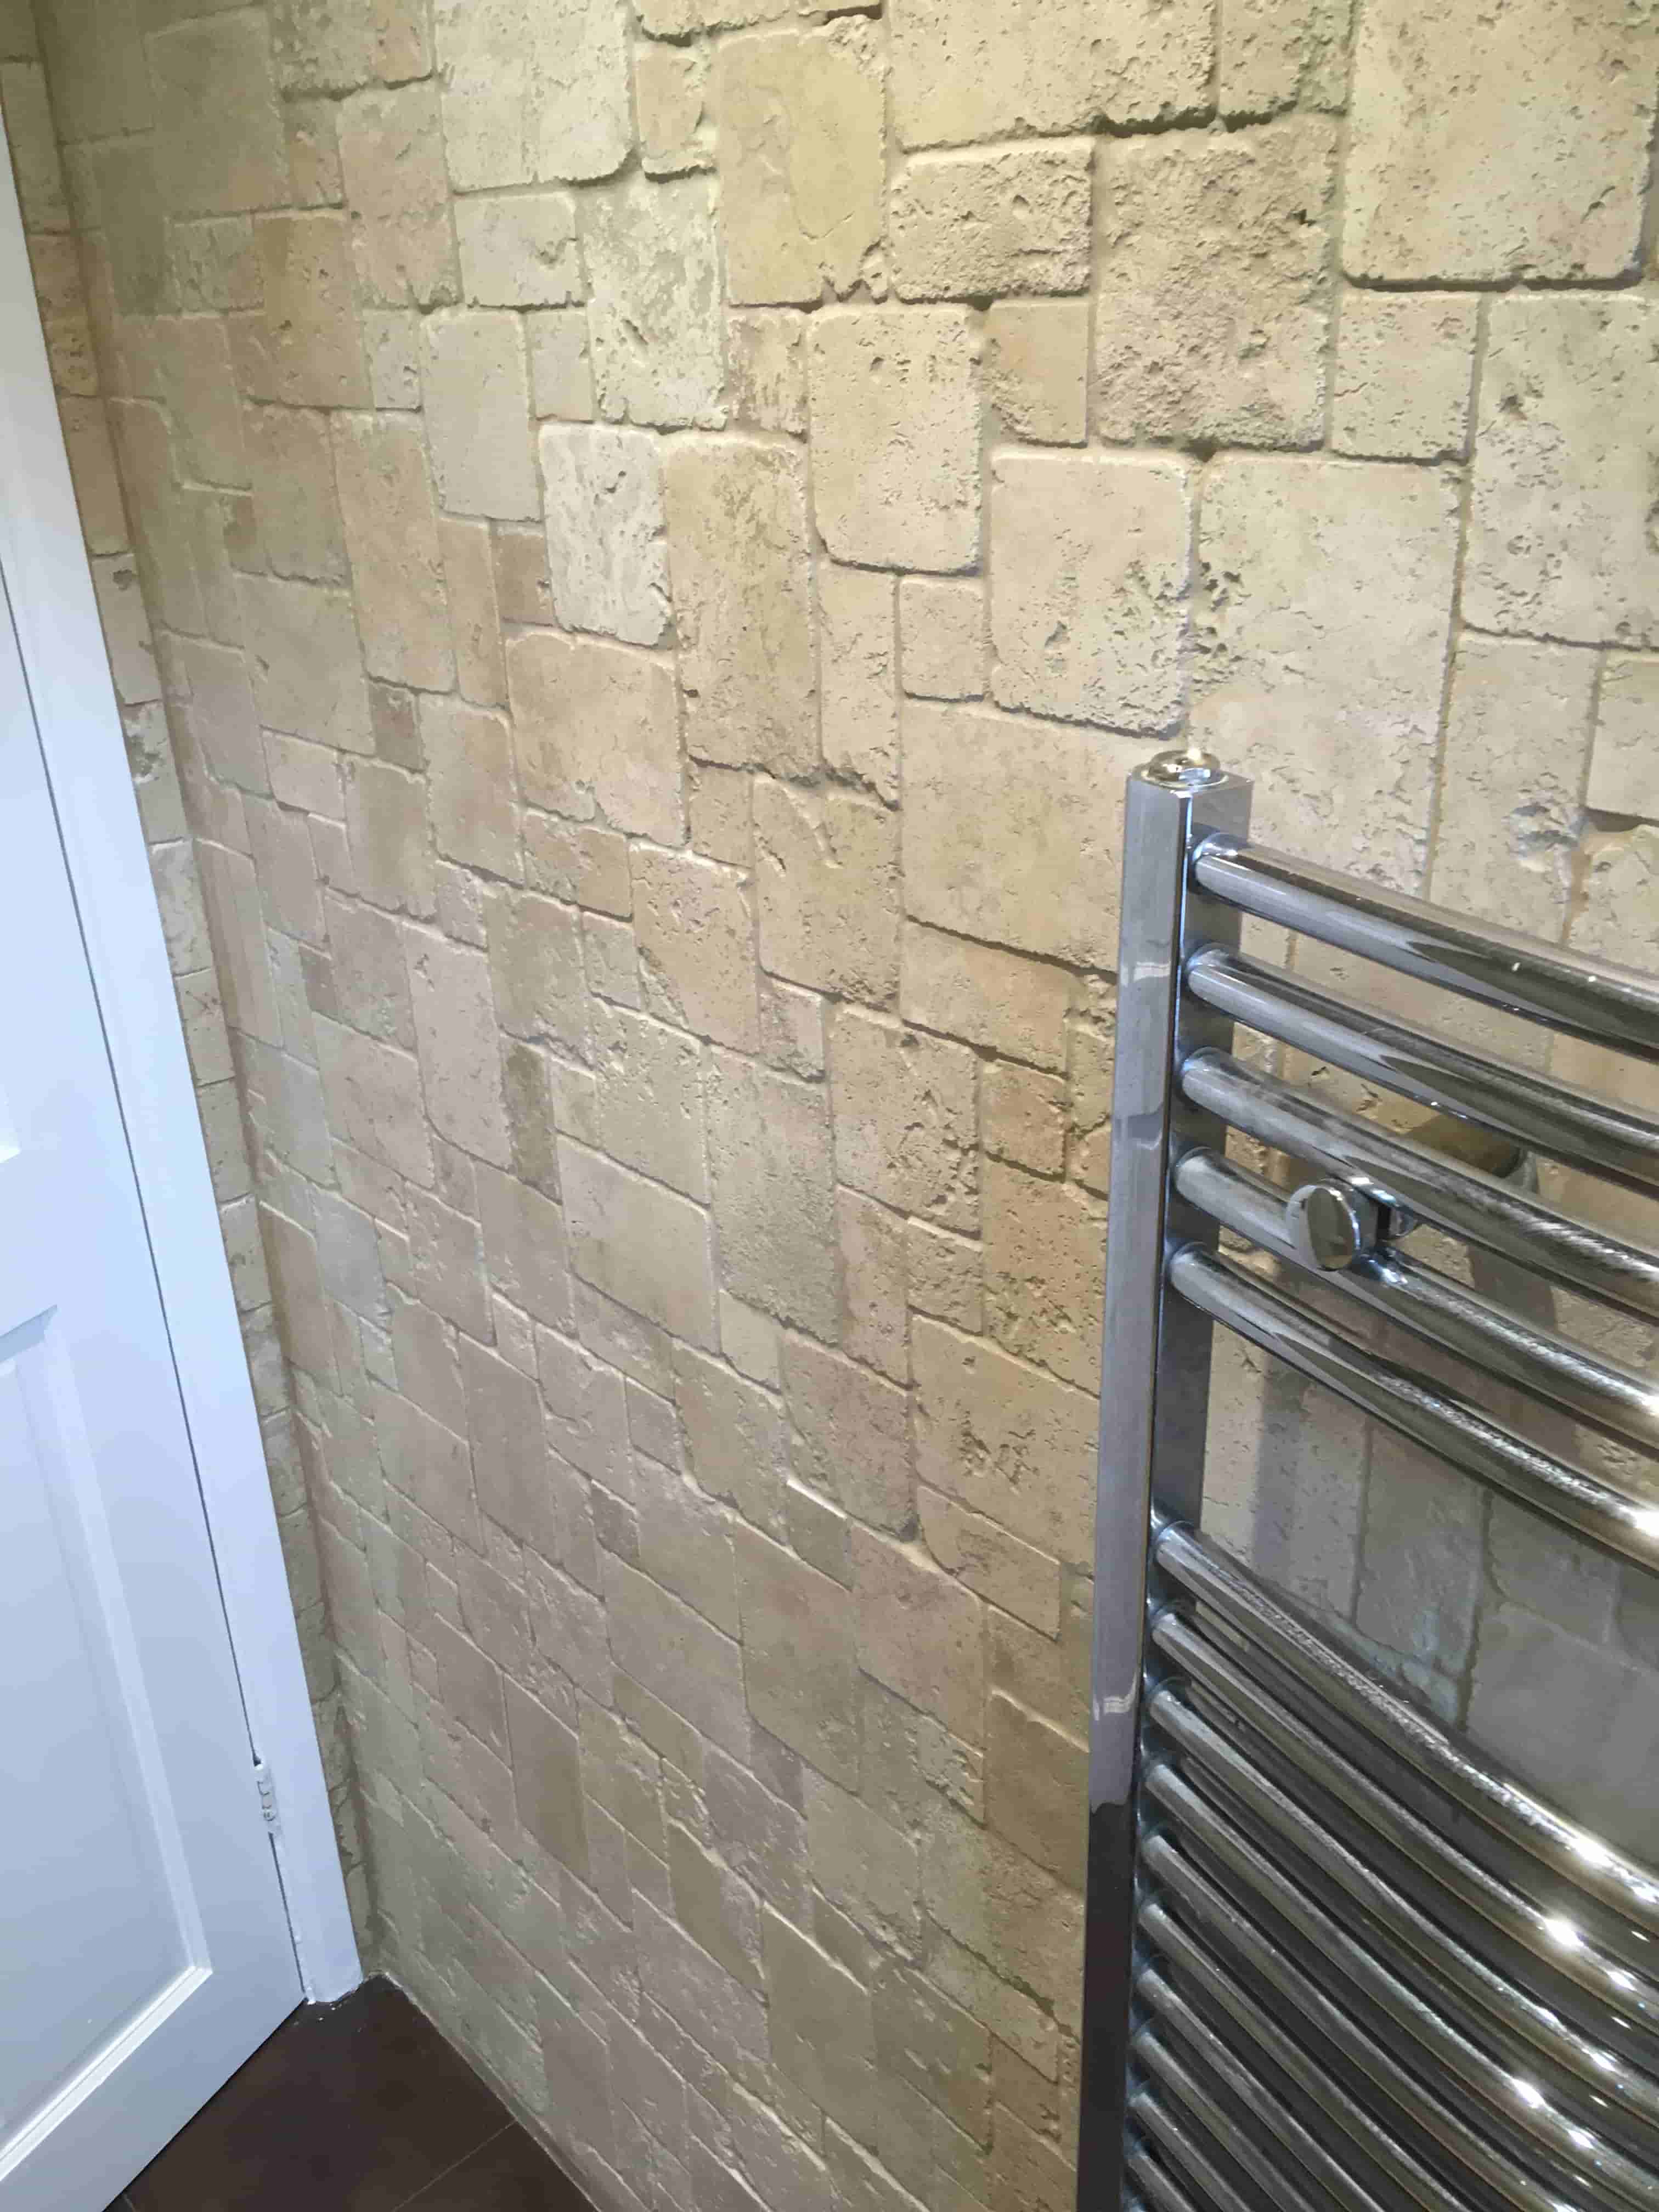
Travertine Tiled Wall Before After Replacing Sealer Weybridge

Changing the Sealer on a Travertine Bathroom Wall in Weybridge

A client had downsized to flat in Weybridge and before moving in had decided to have a new bathroom fitted which included the installation of Travertine wall tiling.

While she loved the stone, she didn’t like the colour enhancing sealer that the tiler had applied to enhance and protect the tiles. What was once a natural pale colour had turned into a shade of yellow. Unhappy with the colour and getting nowhere with the tiler she decided to call Tile Doctor and have it rectified.

Travertine Bathroom Wall Weybridge Flat Before Sealer Removed

The final appearance of stone whether it is laid on the floor or the wall is a very personal choice and very difficult to make until you see the finished result. I find colour enhancing sealers usually help to bring out the natural features and colours in the stone however I do find lots of clients asking for the natural look.

I’m afraid the photographs on this page didn’t come out that well, there was little natural light in the small bathroom and so they don’t really do the Travertine tiles justice.

Stripping a Colour Enhancing Sealer from Travertine Wall Tiles

To resolve the problem, I first had to remove the old sealer which was done by wetting the walls with water and then applying Tile Doctor Oxy-Gel. Being a gel this tile cleaning product sticks to vertical surfaces allowing for longer dwell times. This was then left to soak in for about half an hour, then using a set of four six-inch diamond burnishing pads, I slowly burnished the walls until the sealer was removed.

The process of burnishing is a messy business and involves the application of four different grades of pad starting with a coarse pad and ending with a polishing pad. The process does generate a fine soil, thankfully being in the bathroom however it was easier to contain. The soiling was removed using more water and a wet vacuum.

I then speed dried the room with a large warm air blower so I could apply the new sealer later in the day.

Sealing a Travertine Tiled Bathroom Wall

After lunch I checked the Travertine wall tiles for moisture using a damp meter and it confirmed they were dry and ready for sealing. To seal I applied a couple of coats of Tile Doctor Ultra-Seal which adds protection but is also invisible leaving the stone with a natural look. This was not a colour enhancing product as per the client’s earlier instruction.

Finally, I cleared up the mess and polished the glass shower screen whilst I was waiting for the sealer to dry. Needless to say, my client was very happy and finally had the desired appearance.

Travertine Bathroom Wall Weybridge Flat After Sealing

For after care I recommend the use of Tile Doctor Aqua-Pro which is a mild but effective cleaner that isn’t too strong for use on sealed stone and can be used daily after a shower. This will keep the sealer in the best condition and the bathroom looking pristine.


Professional Restoration of a Travertine Tiled Bathroom in West Surrey

Changing the Sealer on a Travertine Bathroom Wall in Weybridge Read More »

Quarry Tiled Floor Renovation Woking

Small Quarry Tiled Floor Stained with Adhesive and Paint Renovated in Woking

This client has lived in the same Woking property for thirty years and had recently decided to lift the linoleum by the back door to the property. Underneath was a small rectangle of Quarry tiles and the decision was made to lift all the lino and see what could be done to restore the original floor.

Quarry Tiled Floor Before Renovation Woking

My job was to fully remove the linoleum and adhesive, paint splashes and to seal the floor in what was a high traffic area. Although small, I was aware there would probably be a lot of adhesives to remove, and the tiles may be damaged underneath.

I’ve been a Tile Doctor for many years and if you look at my website, you will see I’ve tackled all sorts of Tile, Stone, and Grout situations. So confident I could restore the floor to their satisfaction and optimistic that the job would not take too long I provided a quote for the work which they were happy to accept, and a date was scheduled for my return.

Cleaning a Quarry Tiled Hallway Floor

The first task was to protect the surrounding skirting boards and door; then a strong dilution of Tile Doctor Remove and Go was applied and left to dwell for 20 minutes. This product is a strong alkaline coatings remover designed for use on Tile that breaks down adhesives and other coatings such as paint spots and sealers. Using a coarse 100-grit diamond pad fitted to a rotary buffer machine I set about scrubbing the adhesives from the surface of the Quarry tile.

This is an effective method that not only removes the glue but also cleans up the tile taking away what was probably thirty years of ingrained dirt in the process. Once done the glue and soiling was rinsed and extracted. Stubborn areas and corners were treated by hand using a 60-grit diamond block until I was satisfied the whole floor was as clean as it could be.

Sealing a Quarry Tiled Hallway Floor

As we were in the middle of the July heatwave, I was able to dry the tiles quickly, and is it was a small area there was no need to leave the floor to dry off overnight. Wet tiles mustn’t be sealed as the seal will not cure so before moving onto the next step, I took several moisture readings with a damp meter. The floor was soon within acceptable range, so I was able to apply the sealer later that afternoon.

As it was an old house and a high traffic area, I suggested sealing the floor with Tile Doctor Seal and Go Extra. This offers a very strong seal with a nice sheen. It’s not too shiny for an elderly house and will last years, it’s also breathable which is an important consideration when sealing old floors that don’t have a damp proof membrane. I applied two coats, letting them dry in-between.

Quarry Tiled Floor After Renovation Woking

My client was over the moon with the transformation and very pleased to see the back of the linoleum floor which really had seen better days. A light mop using Tile Doctor Neutral Tile Cleaner would ensure the nice sheen would stay put and the rich colour of the quarry tiles would be maintained. Tile Doctor Neutral Tile Cleaner is pH neutral so it is not harsh on the floor and will not damage the newly applied seal, like stronger household cleaners might.


Professional Restoration of a Quarry Tiled Hallway in West Surrey

Small Quarry Tiled Floor Stained with Adhesive and Paint Renovated in Woking Read More »

Soiled Victorian Path Repair Restoration Esher

Neglected Victorian Tiled Pathway Repaired and Restored in Esher

This customer in Esher requested help renovating their Victorian tiled pathway which as you can see from the photograph below was looking very neglected and in a poor state of repair. As well as some damage and missing tiles, dirt had been come ingrained and, in some places, there was vegetation growing between the tiles.

Soiled Victorian Tiled Pathway before renovation Esher

When working on external Victorian tiles like this example you really do need to have warm weather and I will often put requests for restoration work like this one on hold until the spring on summer.

Restoring a Heavily Soiled Victorian Tiled Path

To remove all the vegetation and clean up the tiles, I applied a mixture of acid-based Tile Doctor Grout Clean-up and left it to dwell and soak in for a good thirty minutes. This product removes mineral deposits from the tile and will neutralise salt problems such as efflorescence.

The solution was worked into the tiles using a rotary floor buffer fitted with a coarse 100-grit diamond pad. The industrial diamonds in the pad skim the surface of the tile exposing its original colour. All dirt is washed away and removed using a wet vacuum. The tiles were then left to dry.

While drying I carefully removed all the broken tiles with a hammer and chisel. Old Victorian tiles are super tough but often brittle so care must be taken when removing a single tile as very often the one next to it will pop out as a result some tiles should just be left where they are or you end up replacing half the path. I do have to warn customers that due to the age of the installation an “as new” result is an unrealistic expectation. These paths are often over 100 years old and are susceptible to our weather. I often tell customers they can expect some “Characterful” features once the job is done.

Once the path was cleared of debris, I set about cutting and fitting replacement tiles which I had managed to source earlier. Victorian tiles are still very popular and there are several companies in the UK where you can find a good match for your project.

Sealing a Victorian Tiled Pathway

The weather was excellent so it wasn’t long before I was able to move onto sealing the tiles with a couple of coats of Tile Doctor Colour Grow. This is a fully breathable sealer that will cope with the weather and as its name suggests it enhances the colours in the tile, the new sealer will protect the tiles for ingrained dirt going forward making the path very easy to clean. Also, the new sealer did a great job of blending in the new and replacement tiles.

Soiled Victorian Tiled Pathway after renovation Esher

Once complete the path was completely transformed and looked so much healthier. Naturally there were some “Characterful” imperfections but as I mentioned earlier this just echoes the history of the property.

For aftercare cleaning I recommended the use of Tile Doctor Neutral Tile Cleaner. Most tile cleaning products you find in supermarkets are simply too strong for the sealer and can degrade them prematurely.


Professional Victorian Tiled Pathway Floor Maintenance in Surrey

Neglected Victorian Tiled Pathway Repaired and Restored in Esher Read More »

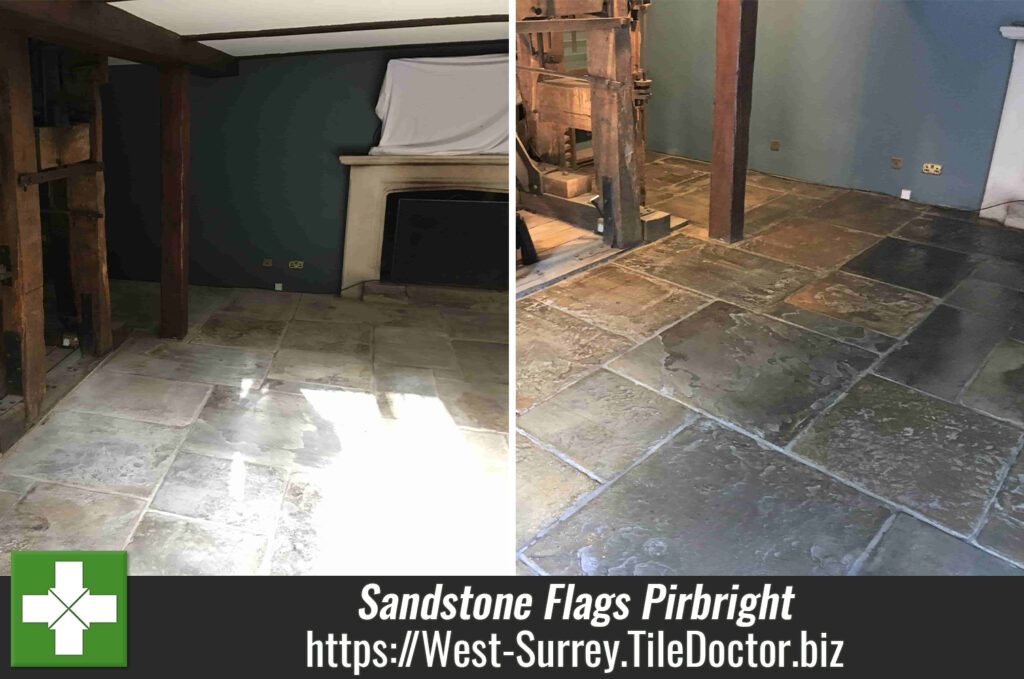
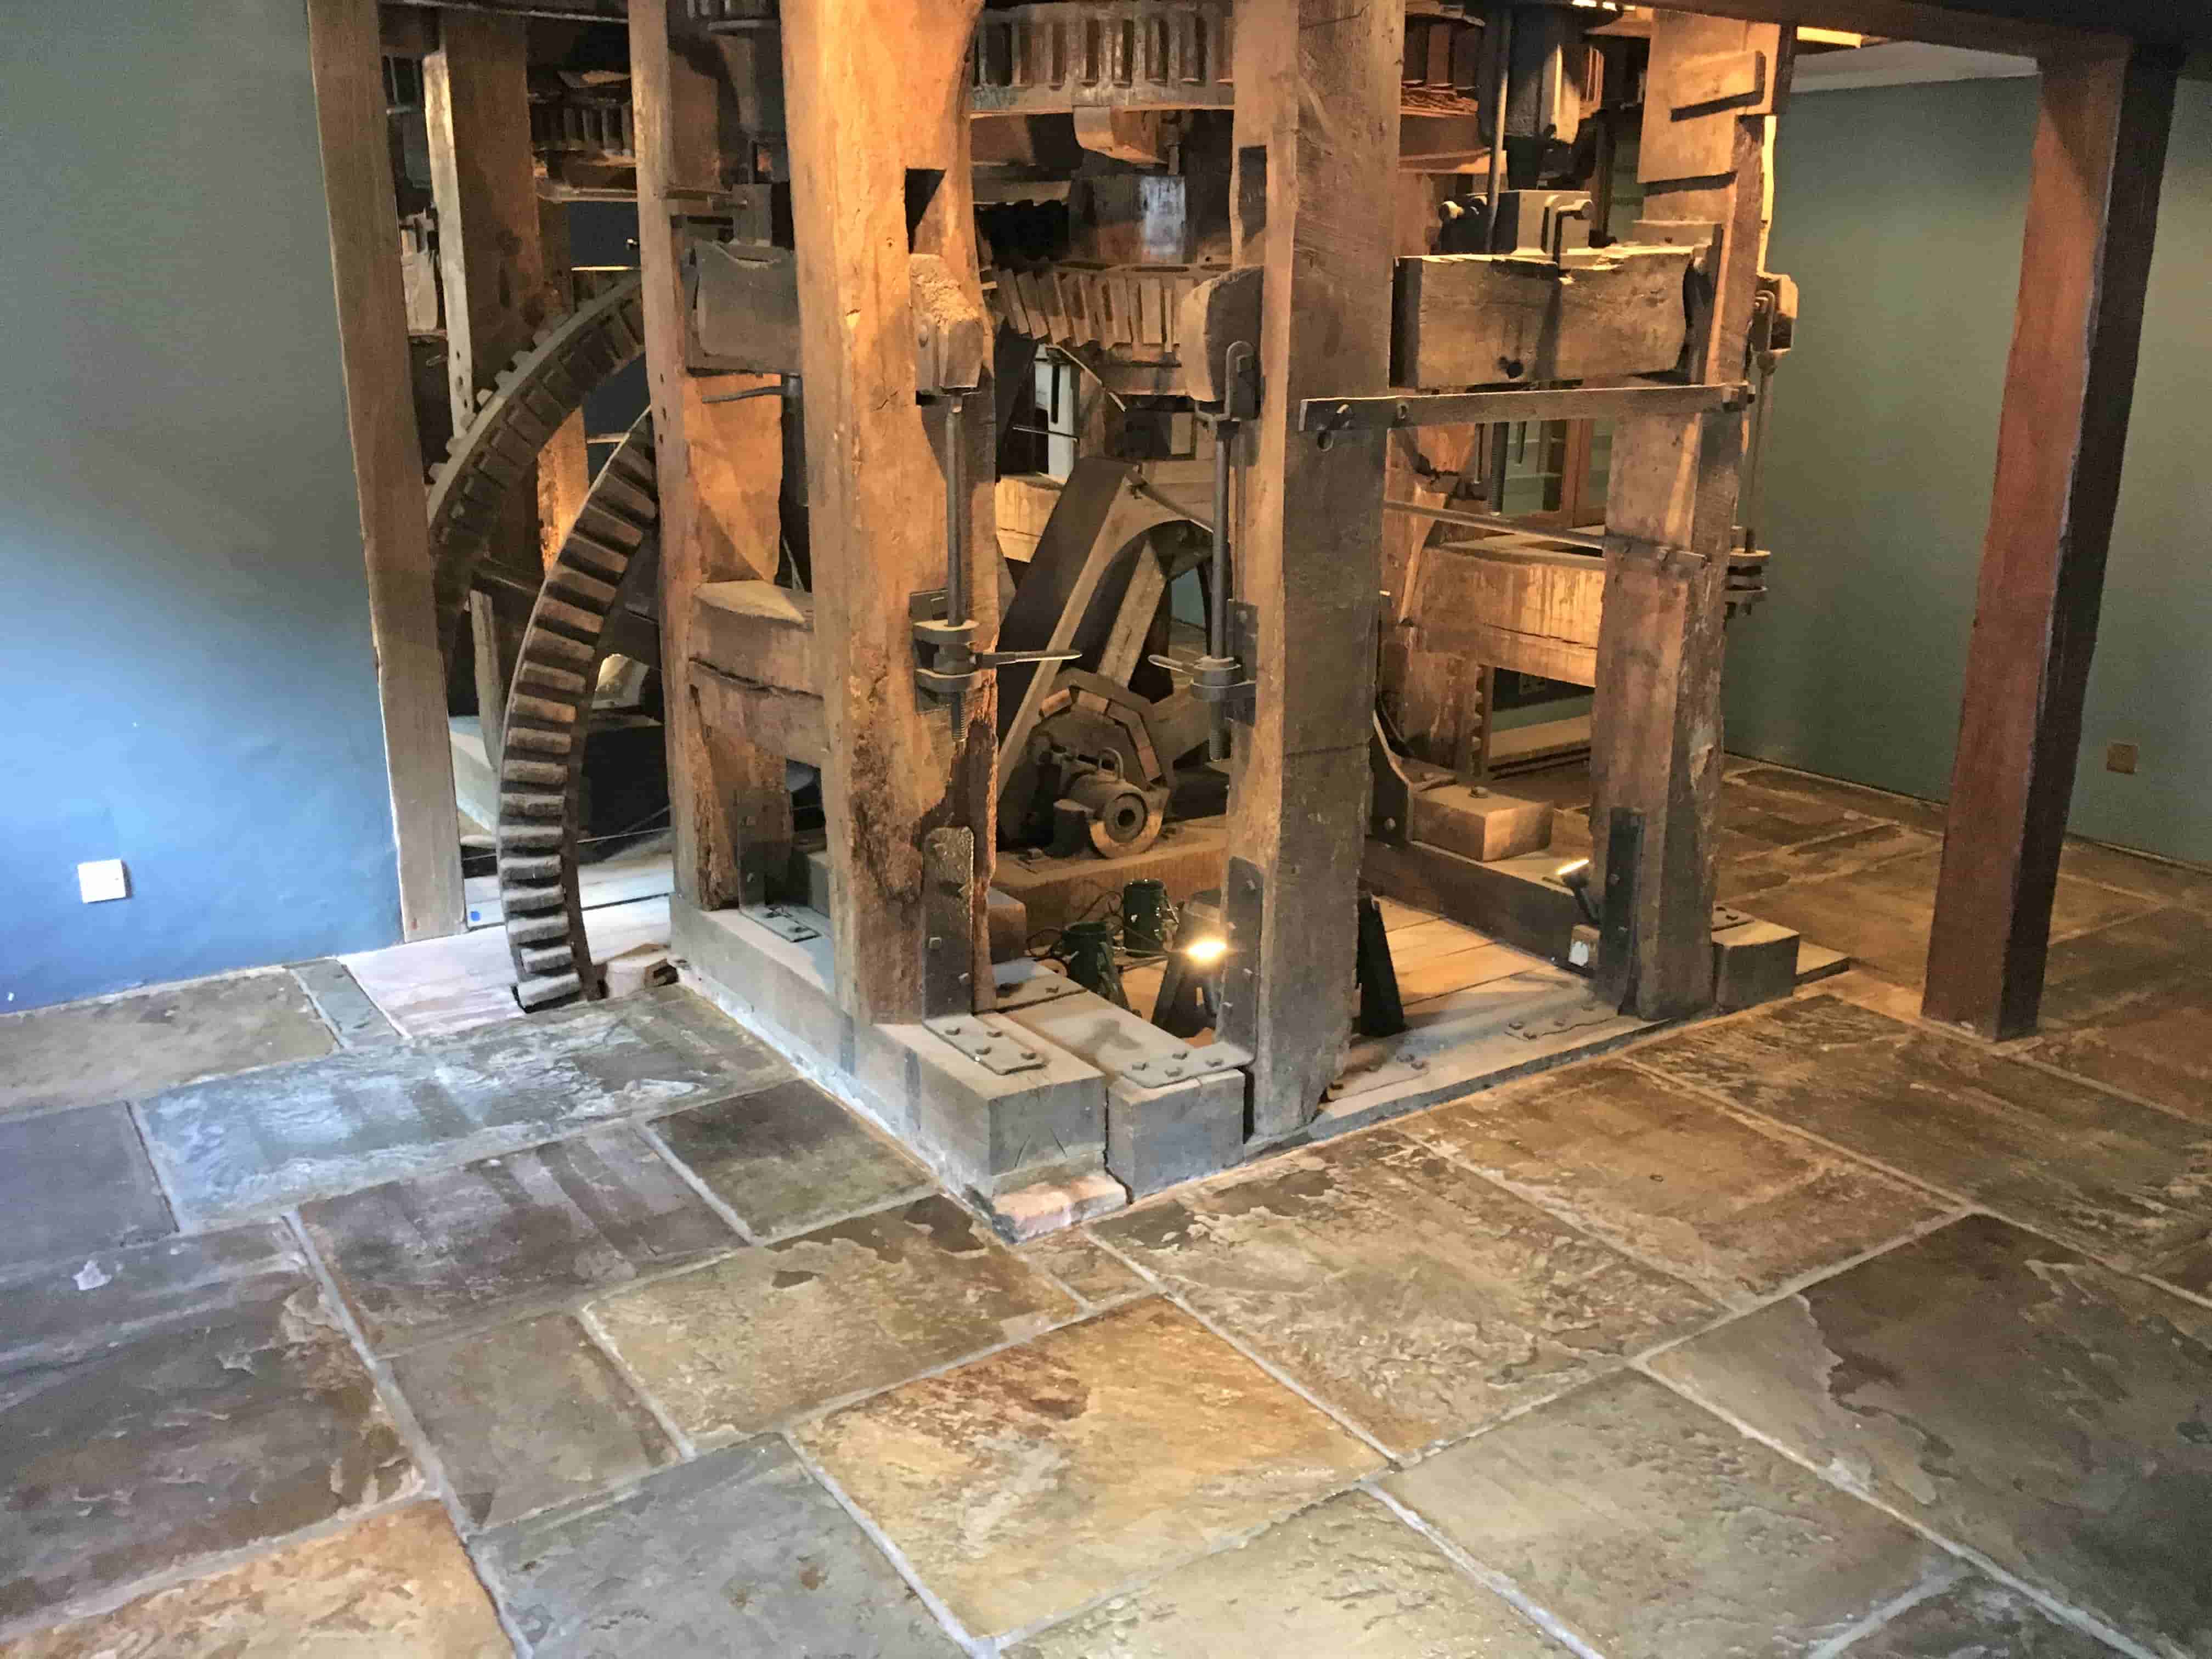
300 Year Old Sandstone Flagstone Floor Renovation Pirbright Mill

Old Sandstone Flagstone Restoration at Pirbright Mill

The pictures of a Sandstone floor below were taken at a 300-year-old mill house in the very picturesque village of Pirbright between Woking and Guildford. My client was selling the property which was really beautiful with many original features.

300 Year Old Sandstone Flagstone Floor Before Cleaning Pirbright_Mill

During the week before my arrival, the owner had a restoration company remove the grout surrounding her Sandstone flags and had them lifted so a damp proof course could be laid beneath. The flagstones were then re-laid and regrouted, I assume this was something that had come up in a survey and needed to be rectified as a condition of the sale. I certainly didn’t envy the guy chipping away at the grout for days on end.

Unfortunately, cleaning was not part of the process and by the time I turned up the old Sandstone flagstones were looking washed out and had lost a lot of their character. I was tasked with cleaning them up and sealing them after they had been re-laid, fortunately I wouldn’t need to clean the grout which can be quite a task on old floors like these.

300 Year Old Sandstone Flagstone Floor Before Cleaning Pirbright_Mill

Normally old floors are notorious for damp issues and I usually have to take steps to neutralise efflorescent salt issues however due to the damp proofing work recently completed this would not be a problem. I was very conscious however that the flagstones were very old and so had to be handled with care. So, after running some cleaning tests in a small area behind the mill I worked out the best way forward would be to give the Sandstone a deep clean with Tile Doctor Pro-Clean which is an effective alkaline tile and grout cleaning product. She was happy with the testing and agreed my quote, so we were good to go ahead.

Cleaning an Old Sandstone Flagstone Floor

My method was to spray a strong dilution of Tile Doctor Pro-Clean onto the floor, it was left to soak in for ten minutes and then agitated with a nylon scrubbing pad fitted to a rotary floor buffer. This process released the ingrained dirt from the pores of the stone which was then extracted using a wet vacuum. I inspected the stone flagstones after each scrub and repeated the process where necessary until I was satisfied the stones were as clean as they could be. Once done the floor was left to dry off ready for the next stage of applying a protective sealer.

Sealing Old Sandstone Paving Flagstones

Old buildings are often very cold and damp, so I used as little water as possible during cleaning, however Sandstone is quite porous, so I left the stone floor for three days to dry out before returning to seal.

For sealing I chose to apply Tile Doctor Colour Grow, this is a colour intensifying sealer that will add durable protection to the stone whilst enhancing the natural colours of the very old sandstone flags.

300 Year Old Sandstone Flagstone Floor After Sealing Pirbright_Mill

The client has since sold the house with the new owners benefitting from some considerable restoration. I am sure they will be very pleased to live here, I left a bottle of Tile Doctor Neutral Tile Cleaner to get them started.

300 Year Old Sandstone Flagstone Floor After Sealing Pirbright_Mill


Professional Renovation of old Sandstone Flagstone Paving in a Surrey Mill

Old Sandstone Flagstone Restoration at Pirbright Mill Read More »

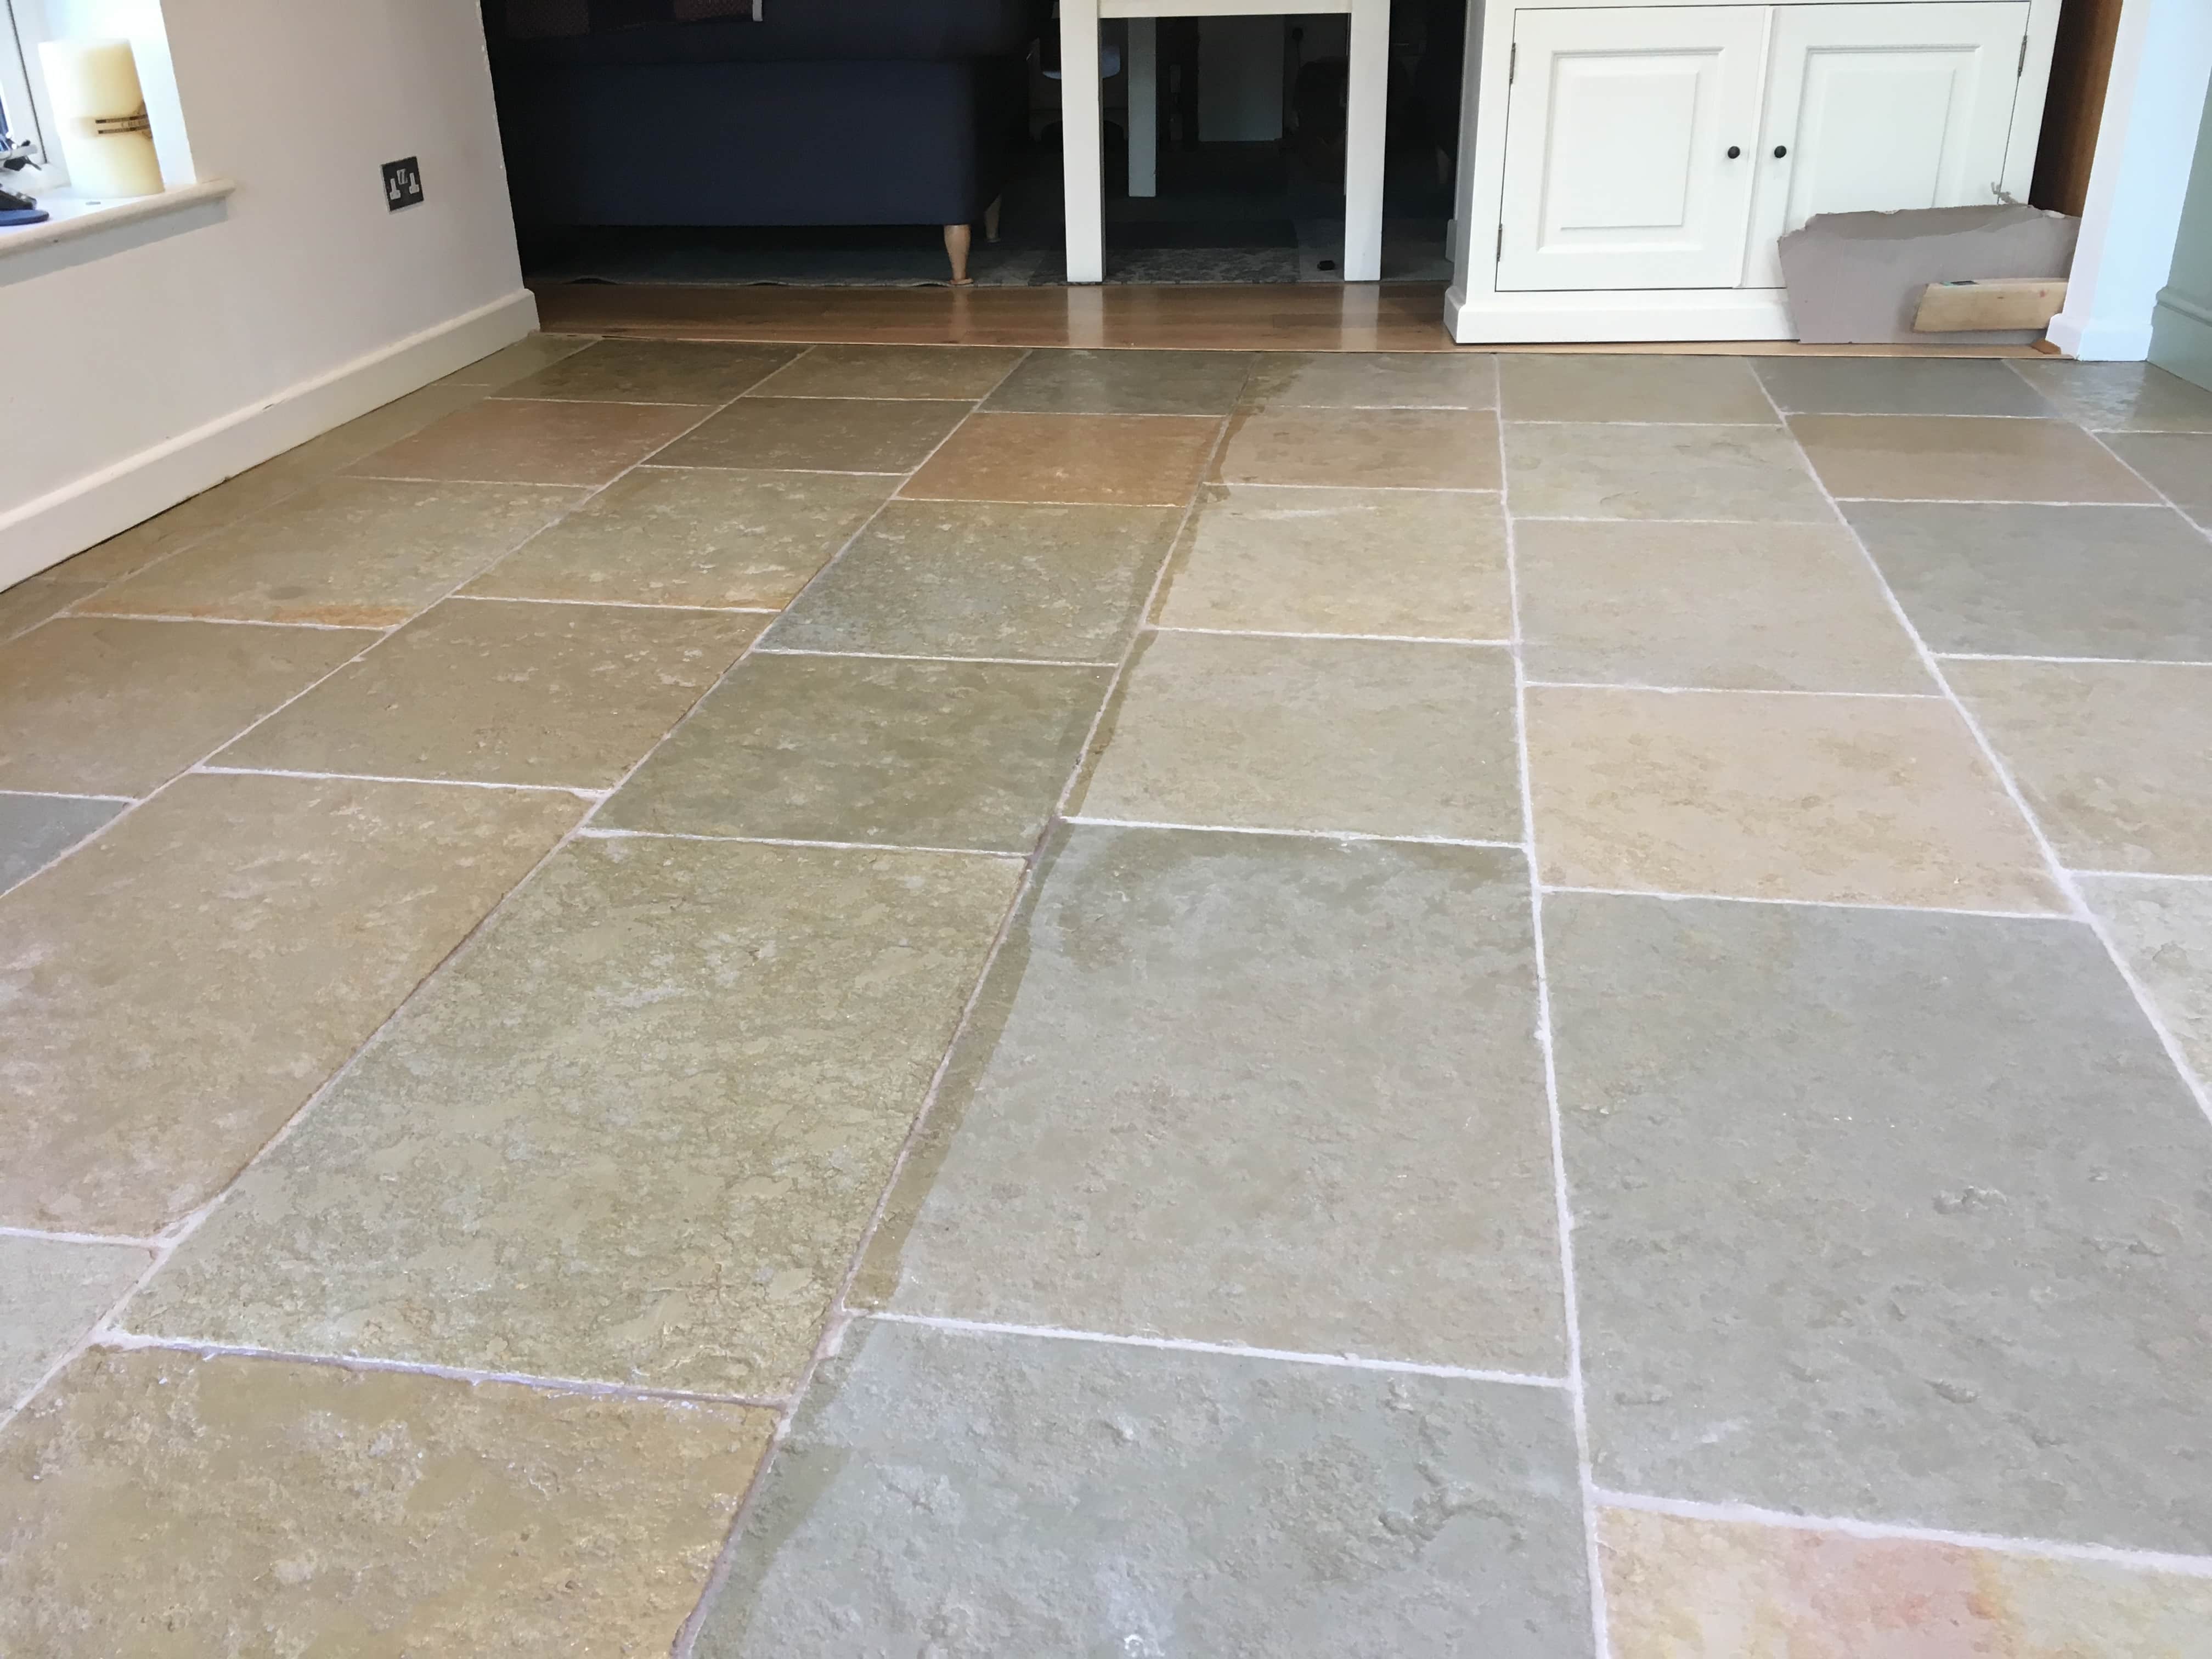
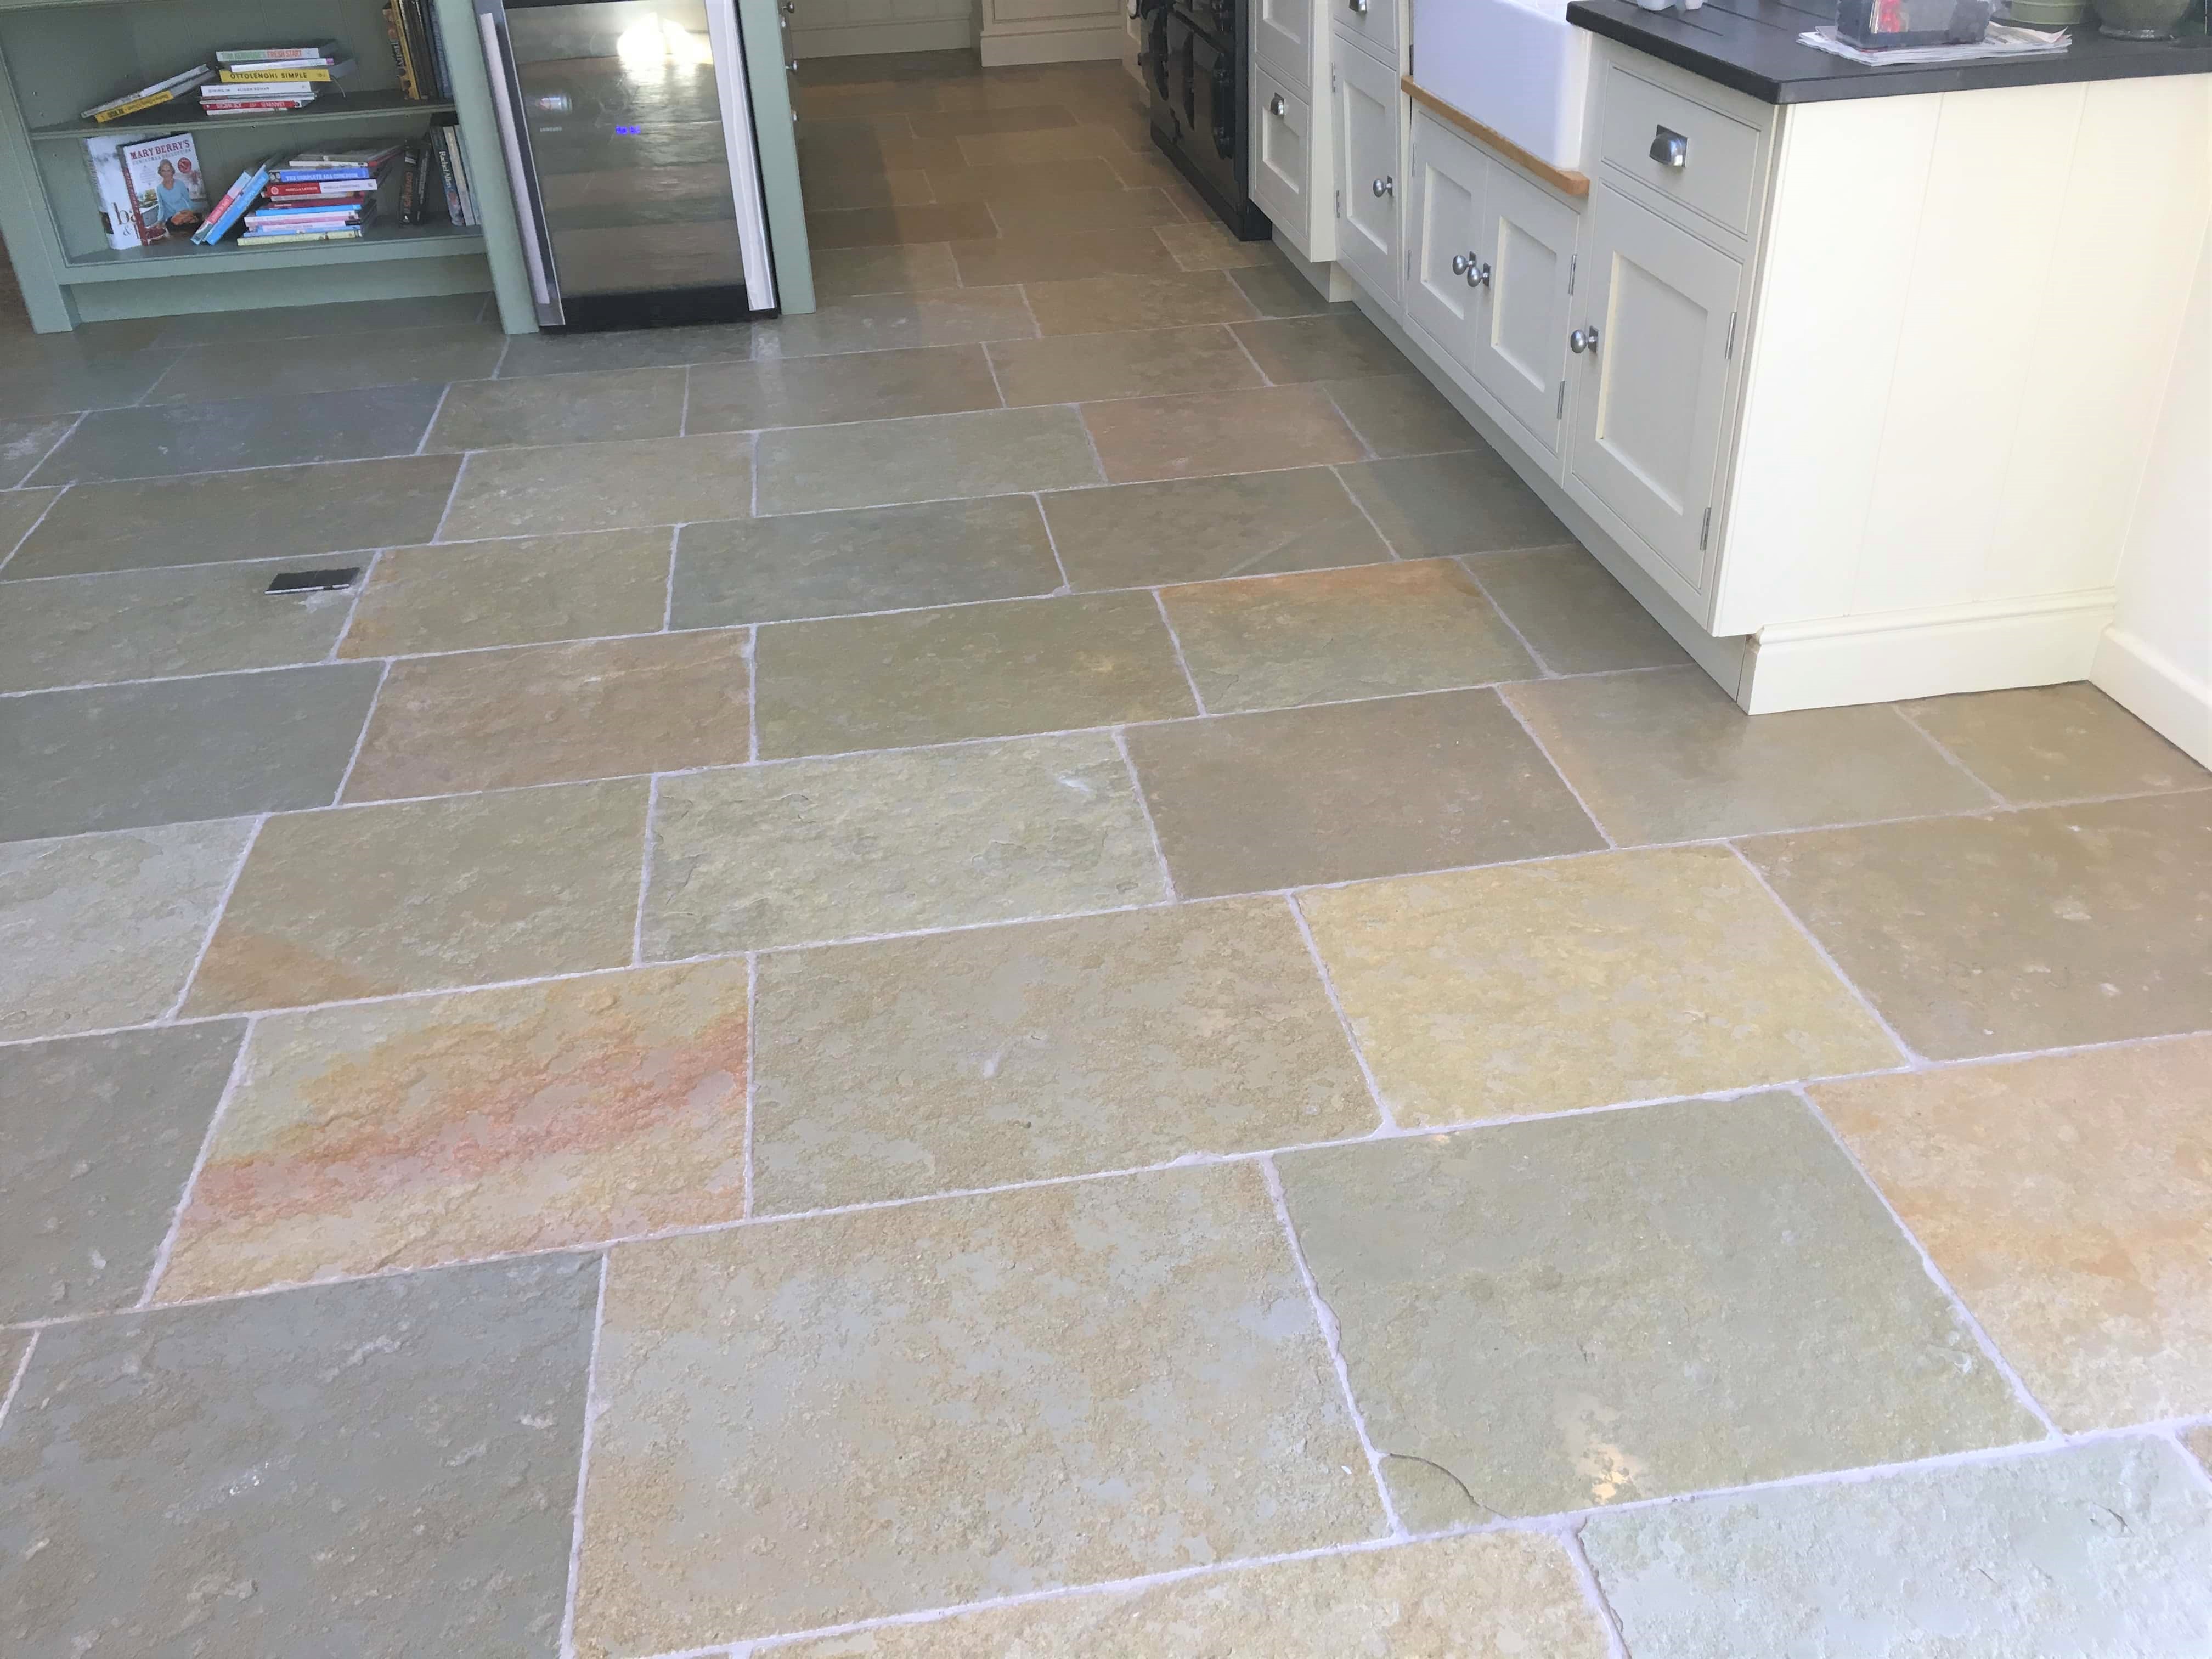
Limestone Kitchen Floor Renovation Godalming

Filthy Limestone Floor Deep Cleaned in a Godalming Kitchen

My client had recently moved into a bungalow in Godalming where they inherited the Limestone tiled kitchen floor pictured below. The previous owner had not looked after the floor very well and by the time they moved in it was pretty filthy. Limestone is a natural but porous stone where, unless sealed, attracts dirt into its tiny holes and as you would expect Cream Limestone shows the dirt easily. The protective seal had long since worn off this floor and was now ingrained with dirt it was now looking permanently dirty.

Filthy Limestone Tiled Floor Renovation Before Cleaning Godalming Filthy Limestone Tiled Floor Renovation Before Cleaning Godalming

Before quoting I conducted a small test clean to work out the best method to renovate the stone and this also gives the client a good idea of how the floor will look after its finished. They were delighted with the initial result and happy with my quote gave me the go ahead.

Cleaning a Limestone Tiled Kitchen Floor

On arrival first I helped the customer remove his tables and chairs and I then set about tapping up the plinths in the kitchen and the skirtings to protect them from cleaning solutions and equipment. The cleaning equipment I have invested in works more efficiently in open spaces, so it’s worth spending time at the beginning preparing the area first.

Next, I used a deck brush to apply a mixture of water and Tile Doctor Pro-Clean to the dirtiest tiles. Tile Doctor Pro-Clean works well when left to dwell for ten minutes or so. I also applied the same product to the grout over half the room so it could get a head start breaking down the dirt. Then using a stiff brush, I scrubbed the grout clean. Once it was worked loose, I extracted the now dirty solution with a wet vacuum.

With the grout clean I turned my attention back to the tiles with where the Pro-Clean had been left to soak in. Giving them a quick brush, I noted that what appeared to be permanently ingrained dirt had now come loose. To get the tiles really clean I used a 17″ rotary machine fitted with diamond encrusted buffer pads. This removes the tiny dots of dirt on the stone and with it comes any existing sealer and dirt.

A set of four burnishing pads were used, starting with a 400-grit, and finishing with a 3000-grit pad. The first 400-grit pad is coarse, and the grits become smoother as you work through the set. Water is used to lubricate the process and the released dirt is extracted in-between using the wet vacuum mentioned earlier. This process does take time but by the end of day one the floor was looking a lot better.

The next step is sealing however the floor needs to be bone dry for that, so I left a couple of industrial fans in place and left the Limestone to dry off overnight.

Sealing a Limestone Tiled Kitchen Floor

Returning the following day my first job was to ensure the floor was dry by taking multiple moisture readings with a damp meter. The readings were good, so I was able to make a start applying the sealer which for this floor was Tile Doctor Ultra Seal.

Ultra-Seal is an impregnating sealer that soaks into those small holes in the stone I mentioned earlier, I occupies the pores thus preventing dirt from becoming ingrained. The other feature of this sealer is it doesn’t change the appearance or colour of the stone leaving it with a very natural finish. Two coats of sealer were applied, leaving the seal to dry between each coat.

Filthy Limestone Tiled Floor Renovation After Cleaning Godalming Filthy Limestone Tiled Floor Renovation After Cleaning Godalming

After the final coat was dried, I gave it a final polish with a soft nylon pad and the floor was finished. Before leaving we discussed after care which for this floor, I recommended Tile Doctor Stone Soap and I requested that the customer to stay out of the kitchen for a couple of hours while the sealer cured. They were over the moon with the new floor and could not believe the difference it had made to their kitchen.

Filthy Limestone Tiled Floor Renovation After Cleaning Godalming


Professional Restoration of a Limestone Tiled Kitchen in West Surrey

Filthy Limestone Floor Deep Cleaned in a Godalming Kitchen Read More »

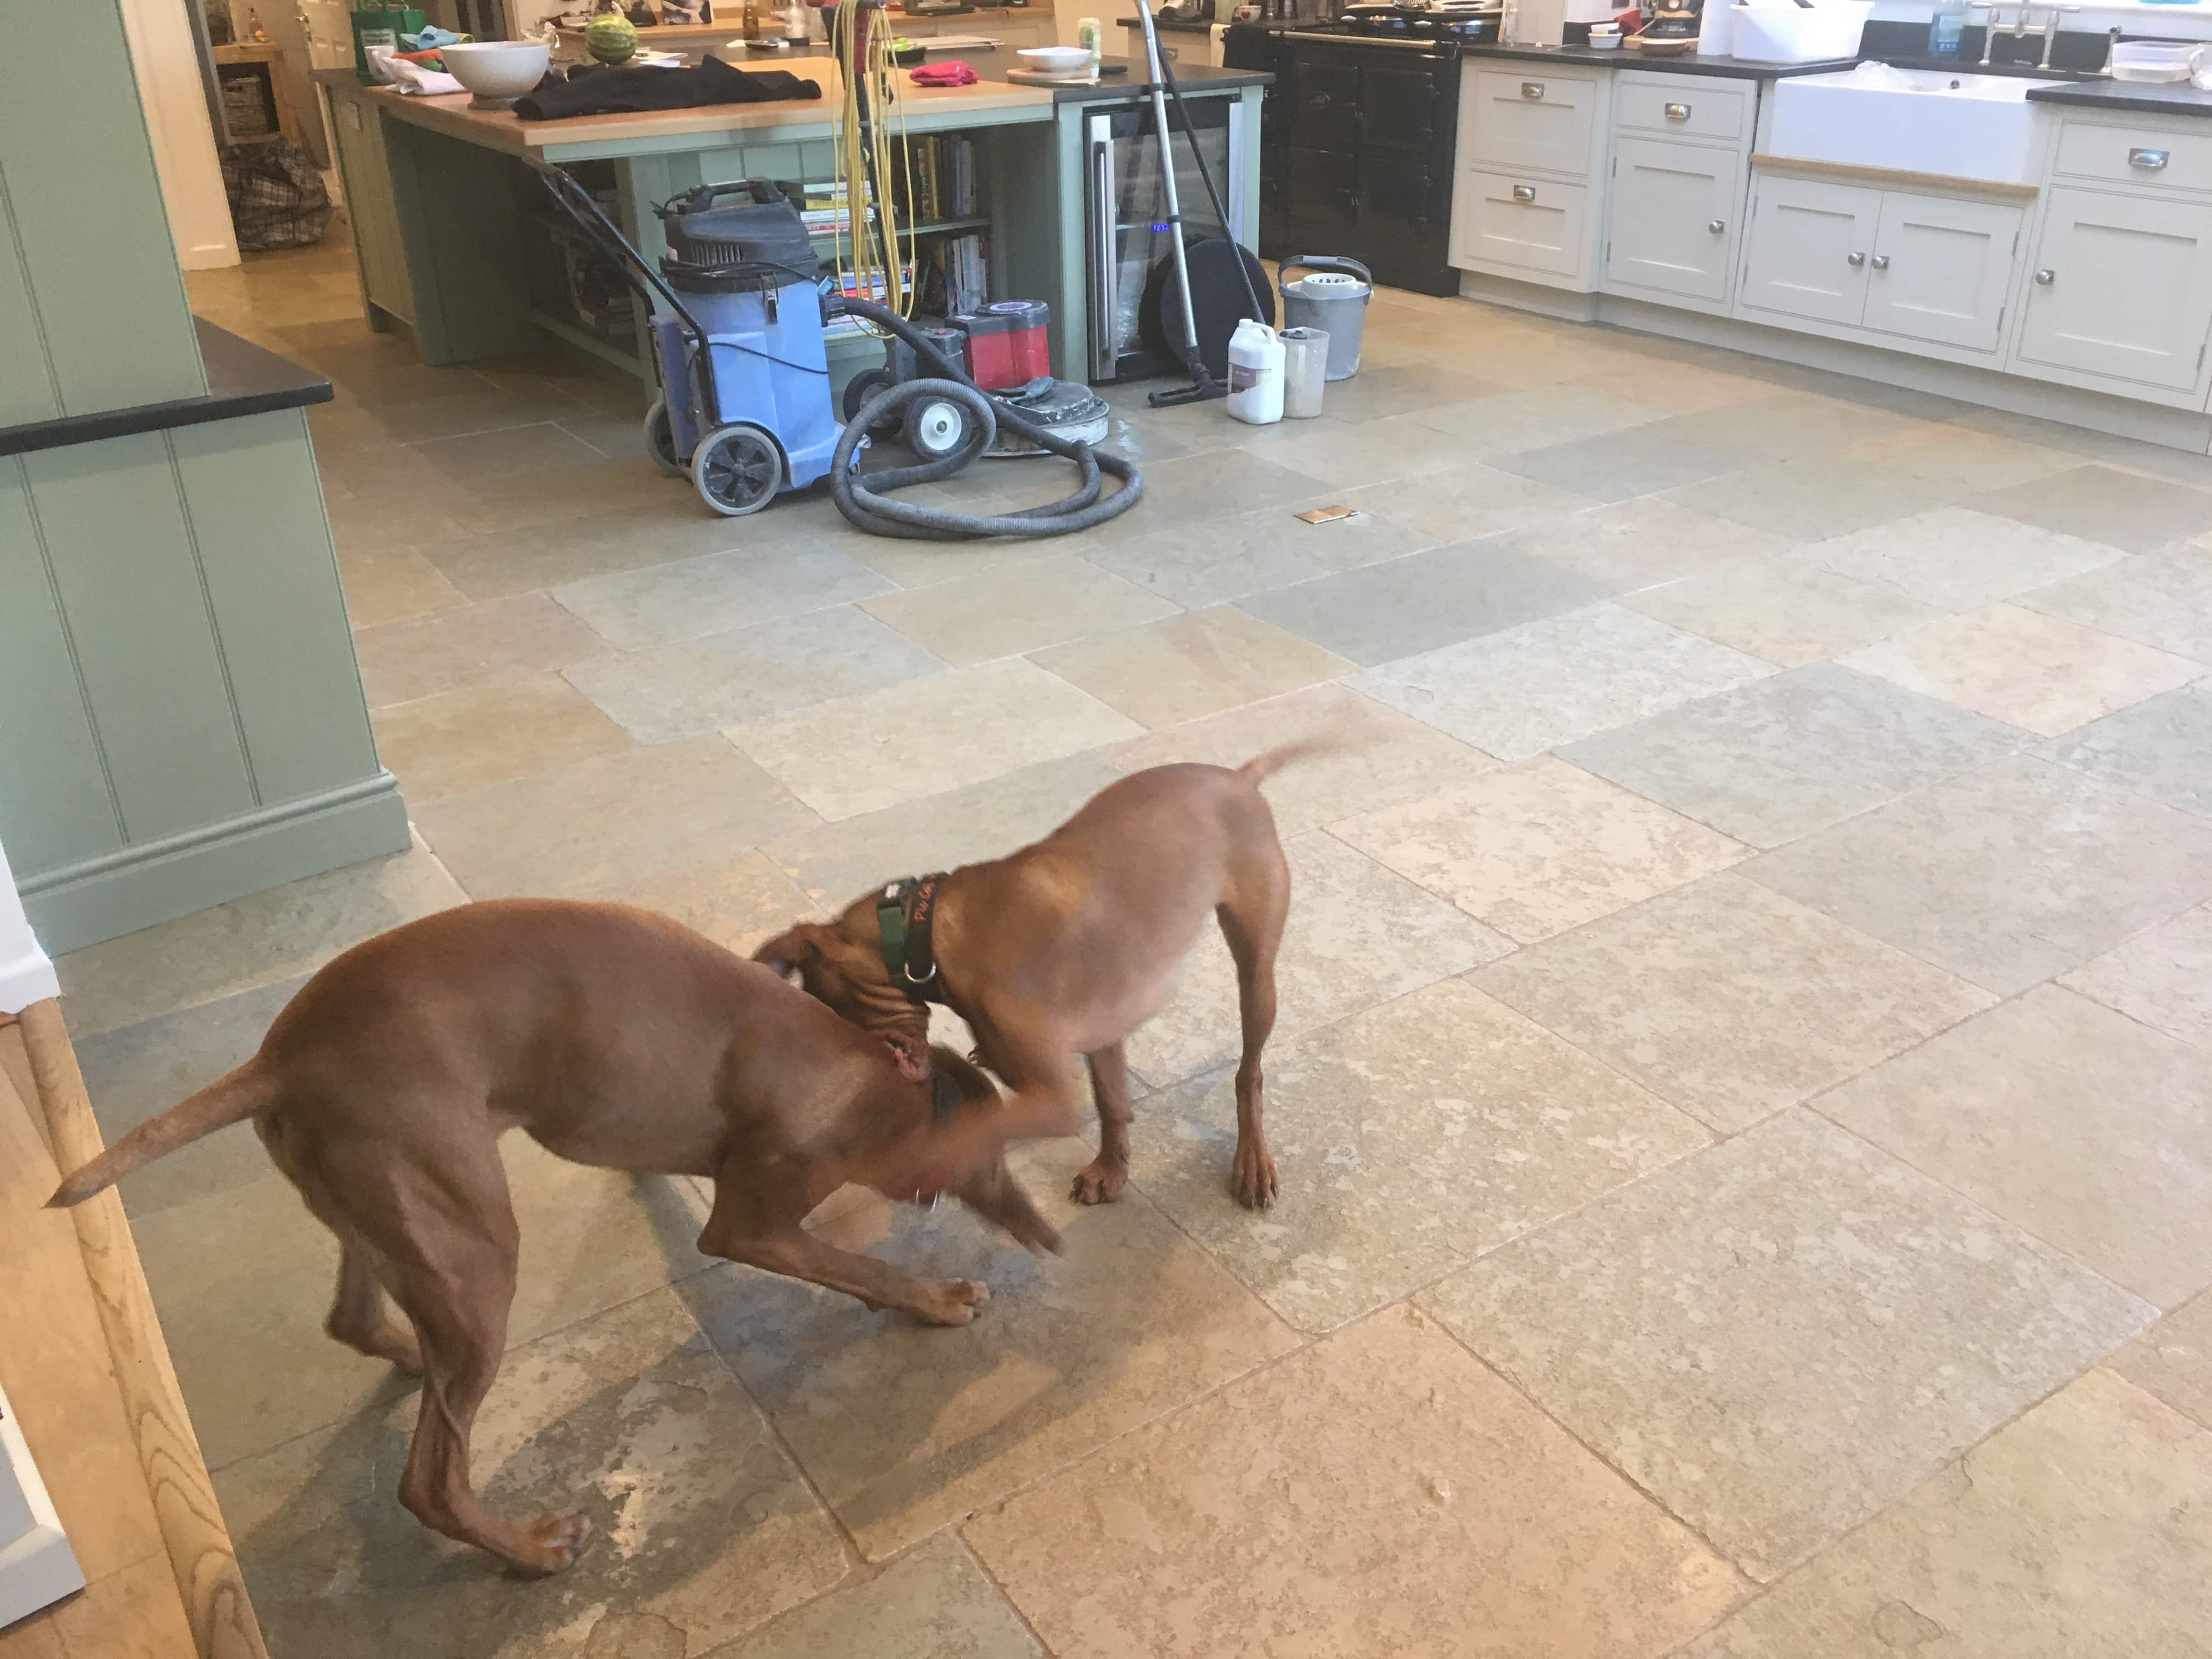
Sandstone Tiled Kitchen Floor Renovation Farnham

Restoring a Sandstone tiled kitchen floor in Farnham

Laid six years ago at a house in Farnham this Sandstone tiled kitchen floor was routinely trampled on by two teenagers, gardening parents and two large dogs. All of this had taken its toll of the sealer which had worn off and without its protection the Sandstone tile and grout had turned an indistinguishable sea of brown.

Sandstone Kitchen Floor Before Cleaning Farnham

The floor now needed a deep clean and reseal to restore it appearance and get it looking its best for which I had planned should take two days, the first day for cleaning and drying, the second for sealing and quoted accordingly. My client was happy with the quote and we scheduled a date to do the work.

Sandstone Kitchen Floor Before Cleaning Farnham

Farnham is a market town in Surrey and is largest town in the borough of Waverley. It is quite a historic town, with many old buildings, including a number of Georgian houses. With good access links to the A3 and London by train its popular with commuters and I often get requests to work here.

Cleaning a Sandstone Tiled Kitchen Floor

I began by taping up the wooden skirting and the plinths in the kitchen to protect them from splashing during the work. Then armed with Tile Doctor Pro-Clean and a stiff brush I set about cleaning up the grout. The dirt released was removed with a wet vacuum before it had a chance to dry then using more Pro-Clean and a 17” buffing machine fitted with a rotating black nylon pad I cleaned the tiles.

The unamused dogs had been banished to the garden. I love dogs but they were chasing my machine around, so I needed to keep them out of the way. The floor tiles were surprisingly dirty, and the client was quite shocked by the amount of dirt I manged to extract.

Once finished I left the floor to dry off fully overnight, sealing a damp floor is never recommended and can result in a patchy appearance.

Sealing a Sandstone Tiled Kitchen Floor

Returning the next day, I first checked for areas that needed further attention and then took several moisture readings with a damp meter to check the floor was dry. Satisfied that it was, I was ready to apply the sealer.

Sandstone Kitchen Floor During Sealing Farnham

We had discussed choice of sealer previously and for this floor I had recommended a Tile Doctor sealer called Seal and Go Extra which would be ideal for her traffic heavy floor. Sealing is an important step as it protects the tiles and grout from dirt becoming ingrained in the stone and improves the look of the stone. Seal and Go Extra is also super tough and should last for years if cleaned with the right product. It sets with a subtle sheen but not a shine which she definitely didn’t want. Three coats of sealer were applied which takes around two hours to be dry to the touch but really needs 24 hours for it to cure.

Sandstone Kitchen Floor After Cleaning Farnham

The sealer brought out the variety of colours in the stone floor and the family were happy with their new floor, now they just had to keep the dogs out of the way for 24 hours!

For aftercare I recommended the use of Tile Doctor Neutral Tile Cleaner to keep the floor in great condition.

Sandstone Kitchen Floor After Cleaning Sealing Farnham


Professional Restoration of a Sandstone Tiled Kitchen in West Surrey

Restoring a Sandstone tiled kitchen floor in Farnham Read More »

Worktop Grout Before After Renovation Guilford

Re-colouring of Grout on Ceramic Tiled Worktops in Guildford

The Splashback and Worktops in this Guilford Kitchen had been made from Glazed Ceramic tiles. However, the kitchen units had been extended several times and each time it seems a different shade of grout had been used. Dark grey, light grey and even grout with a brown tint in places. Naturally, she wanted a consistent colour throughout, and the grout needed a good clean.

Tiled Worktop Before Grout Colouring in Guilford

You don’t see so many tiled worktops these days, Granite, Marble, Corian and laminates are more popular however it was an interesting project, and I was happy to help. I was confident we could achieve a consistent appearance by recolouring the grout which would also make the grout easier to clean and give the appearance of the Kitchen a lift.

Tiled Worktop Before Grout Colouring in Guilford

Cleaning Ceramic Tiled Worktops

Firstly, I prepared the whole area by cleaning the grout. Grout colours achieve better adhesion when the grout is free of dirt and grease and Tile Doctor Grout Colourant Pre-Treat Cleaner is ideal for this. It’s an acid-based grout cleaner that cleans and etches the surface of the grout to make a superior bond with the colourant.

Another option is to use Tile Doctor Grout Clean-Up and as I already had a large bottle of this on the van, I decided to go with this instead diluted 50:50 with water. Working in sections I brushed it into the worktop and splashback grout and left it to dwell for thirty minutes before scrubbing it in with a firm wire brush. This action released the dirt which was then rinsed away with more water and then extracted with a wet vacuum to keep the mess to a minimum.

Following the cleaning the grout was now wet, so for the next half an hour I speed dried the grout with a heat gun. The colourant needs to be applied to dry grout, so this was a necessary step to ensure the best result.

The client had selected to use Tile Doctor Grout Colourant in Light Grey so once dried I started the colouring, brushing it in carefully with a narrow paint brush. The product dries quickly so any excess that gets onto the tile must be wiped off immediately. The process is quite slow and meticulous requiring a steady hand, but the results speak for themselves.

There was no need to apply a sealant over the colourant and the nature of the product acts as a barrier over the grout making it much easier to keep clean. Tile Doctor has a range of Grout Colourants in ten popular colours so there is plenty of choice. Using a colourant is much easier and less labour intensive than scraping the old grout out and re grouting. My client was also keen to avoid the mess of this option.

Tiled Worktop After Grout Colouring in Guilford

Once complete the tiles looked so much better, certainly my client was very pleased with the finish and left the following review.

“I’m very happy with every aspect of Rupert’s work, he renovated my kitchen worktops and splash backs. Great job. Thank you.”

Tiled Worktop After Grout Colouring in Guilford


Professional Renovation of Tiled Worktops and Splashbacks in Surrey

Re-colouring of Grout on Ceramic Tiled Worktops in Guildford Read More »

Slate Tiled Floor Before After Maintenance Epsom

Maintaining a Slated Tiled Floor and Grout Recolouring in Epsom

I thought you might be interested to know that I have numerous clients that I visit every year to maintain the finish on their floor. We call this service “a maintenance program” and is ideal for clients who wish to maintain a deep polish on their stone which will diminish with use and over time. The example below details a recent maintenance visit to a client in Epsom who has a Slate tiled Kitchen and Conservatory floor and likes the high gloss finish of the Slate topped up every year.

Slate Floor Before Annual Maintenance Epsom Surrey Slate Floor Before Annual Maintenance Epsom Surrey

The process usually involves a basic clean and the reapplication of a fresh coat of sealer and polish. The big advantage with a maintenance plan is I know the history of the floor so there are no surprises and no need for a pre-site visit. On this occasion however my client wanted me to do something about the colour of the grout. The problem is he has three spaniels and three cats who gradually discolour the white grout with dirt. Although I clean it on each visit it was clear that the white grout was a problem and so he asked me to colour the grout in a charcoal colour to match the slate to make the problem less obvious.

Cleaning a Slate Tiled Kitchen and Conservatory Floor

Over the years I had probably applied 15 plus coats of sealer to these tiles and grout. There is no way I could paint the grout colourant on top of the sealer as it just wouldn’t adhere. To resolve this, I started by using a Fein tool with an occulting abrasive blade along the grout line. It was painstaking work but did the job of removing the sealer and ironically any dirt.

Slate Floor During Grout Maintenance Epsom Surrey Slate Floor with Cats Maintenance Epsom Surrey

I used a vacuum to clean up and then set about cleaning the floor and bringing up the polish on the Slate tiles using a 3000-grit diamond pad fitted to a rotary floor buffer. A small amount of water is squirted onto the tiles during buffing to help the process but essentially the floor is dry. Once done the Slate tiles were now ready for a new application of sealer but not the grout.

Colouring White Grout Charcoal in Epsom

For the next four hours I painstakingly painted charcoal grey grout colourant into the grout lines being careful not to touch the tiles. Grout colourant is an excellent product but dries very quickly. Any excess must be removed immediately.

Applying Charcoal Grout Colourant Epsom Surrey

Normally I recommend using a Grout Colourant Pre-Treater before applying the colourant as you get a better bond with the colourant. On this occasion however the Fein Tool had already cleaned and roughened the surface of the grout, so it wasn’t necessary.

Sealing a Slate Tiled Kitchen and Conservatory Floor

Once the grout colourant was dry, I was able to move onto the last phase of the visit and apply the sealer. The three coats of Tile Doctor Seal and Go were used to seal the floor which I find works well on Slate and as you can see from the photos gave the desired gloss effect the customer wished for. Each coat is left to dry before applying the next one.

I don’t normally recommend using a gloss effect sealer on Slate where you have pets who can scratch the tile, especially in a high traffic area such as a kitchen however he understands this but I guess he likes the shine.

Slate Floor After Maintenance Epsom Surrey Slate Floor After Maintenance Epsom Surrey


Professional Restoration of a Slate Tiled Kitchen and Conservatory in West Surrey

Maintaining a Slated Tiled Floor and Grout Recolouring in Epsom Read More »

Vinyl Shop Floor Tile Before After Cleaning Kingston

Tile Restoration at Fishmongers Shop in Kingston

And now for something different. A customer called me in a flap before Christmas. He had just taken over the lease of a former fishmongers in Kingston Upon Thames and needed help renovating the white ceramic wall tiles and vinyl flooring which was in a state. But that was only part of the problem, his business was selling rugs and with the previous tenant being a fishmonger there was a fishy odour that also needed dealing with.

Fishmonger Shop Unit Wall Tile Before Renovation For Kingston Retailer

The previous shop fittings had been glued and screwed to the wall so when they were ripped out it took some of the ceramic wall tiles with them, leaving gaps in the tiling, glue staining and trapped dirt.

I popped in to have a look and was able to give him a quote for the cleaning and restoration work, he was happy with the cost and wanted to me to get started as soon as possible.

Restoring Ceramic Wall Tiles in a Fishmongers Retail Unit

I started by tackling the glue using sharp blades and a chisel combined with plenty of elbow grease. Then the ceramic tile and grout was cleaned with Tile Doctor Pro Clean which was diluted with water and decanted into a spray bottle so it could be sprayed onto the wall tiles. Doing it this way mixes it with air making it lighter and allowing it to stick to the vertical tiling for longer. After ten minutes of soaking into the dirt it was scrubbed in by hand into the tile and especially the grout lines with a stiff brush. There was a lot to do and so more elbow grease needed. Afterwards the walls were carefully rinsed off with water to remove the soiling.

The next task was to replace many tiles near the ceiling and electric sockets using rapid setting adhesive so they could be grouted later the same day. All holes and verticals were then filled with mastic. They were a generic white tile, so I was able to blend the replacement tiles in without too much trouble.

Fishmonger Shop Unit Wall Tile After Renovation For Kingston Retailer

Deep Cleaning Vinyl Flooring in a Fishmongers Retail Unit

Once the wall tiles were done, I moved my attention to the vinyl flooring which was in good physical condition but in need of a deep clean. To resolve this, I applied more Tile Doctor Pro-Clean solution which was scrubbed in with a rotating floor buffing machine fitted with a black scrubbing pad.

Fishmonger Shop Unit Vinyl Tile During Renovation For Kingston Retailer

The soil was then extracted with a wet vacuum and left to dry off. There was a huge amount of dirt removed which had obviously built up over a long period of time.

Fishmonger Shop Unit Vinyl Tile After Renovation For Kingston Retailer

The wall tiles were glazed ceramic so do not require a sealer to be applied, similarly the vinyl did not warrant any further treatment either so once everything was fully dry, I was done. I handed the unit back over to the new tenant who was ready to cover my carefully cleaned wall with rugs and start trading. Thankfully, the shop now smells good too.


Professional Restoration of a Victorian Tiled Hallway in Worcestershire

Tile Restoration at Fishmongers Shop in Kingston Read More »

Terracotta Floor Before After Renovation Leatherhead

Terracotta Floor Restored at 400-Year-Old Cottage in Leatherhead

This client had acquired a 400-year old cottage in Leatherhead as part of his divorce agreement. The front room was tiled with Terracotta which is a soft stone and particularly porous. The tiles had seen a lot of wear and use over the years and were now in need of some love.

Terracotta Tiled Floor Before Restoration Leatherhead

He emailed over some photographs however it’s difficult to tell the best remedy without doing any testing, so I arranged visit the property and take a proper look. It was immediately clear the Terracotta had become badly discoloured in places some of which was from burning logs which had previously fallen from the fireplace onto the tiles. There was also a considerable amount of red paint around the edges that would need removing.

This work would take two days with at least 48 hours in-between days to allow for evaporation as a wet tile cannot be sealed. The client was happy to go ahead with my quote and we arranged a suitable time to complete the work for him.

Cleaning a Terracotta Tiled Living Room Floor

Firstly, as the terracotta is soft and more importantly red it can make a mess of the woodwork when cleaning with water, so I covered the kickboards with sticky plastic coating to ensure they were protected.

Then I removed the edging paint by softening it with an application of a strong dilution of Tile Doctor Remove and Go. Once left for half an hour the paint starts to soften and this makes it easier to remove, although this is a manual process carefully scrapping the remains of the paint away.

Next, I coated the floor with Tile Doctor Oxy-Gel. This strong cleaning product is left for half an hour to work into the pores of the Terracotta. With some water I gently cleaned the floor with a rotary machine fitted with a nylon pad. This is a wet process, so no dust is created.

For the next few hours, I cleaned the whole room. The areas damaged by burning wood were worked on with a diamond encrusted pad to get deep into the tile. When finished, the tiles were clean and more consistent in appearance and colour. I left the floor for the weekend to fully dry.

Sealing a Victorian Tiled Hallway Floor

On the Monday I returned to seal the Terracotta first checking the tiles had dried out using a damp meter. The customer didn’t want either a shiny finish or a matte finish. He did want a strong, protective sealer so we agreed on using Tile Doctor Seal and Go Extra which leaves a sheen finish and will last for years. The floor was now fully protected and should be durable for the foreseeable future.

Terracotta Tiled Floor After Restoration Leatherhead

The client was very happy with the work we had carried out, it had really transformed the room and he was looking forward to getting the furniture back in to position.


Professional Restoration of a Terracotta Tiled Living Room in Surrey

Terracotta Floor Restored at 400-Year-Old Cottage in Leatherhead Read More »
Ceramic Tiled Shower Curbicle Before After Renovation Woking

End of Tenancy Shower Cubicle Renovation in Woking

Example below of the end of tenancy clean of a Ceramic tiled shower cubicle in Woking student accommodation. The Ceramic tile, grout and shower base were filthy. The mastic had perished, shrunk, and turned black. Unattractive and unhygienic the landlord had little chance of re-letting the property with the bathroom in that state, so we were asked to step in. As you can see from the pictures it was pretty bad although I have seen worse.

Ceramic Tiled Shower Cubicle Before Cleaning

If you have a rental property with a stone floor its worth giving Tile Doctor a call as we find landlords rarely give tenants instructions on how to maintain them and they often end up in a state by the end of the lease.

Ceramic Tiled Shower Cubicle Before Cleaning Ceramic Tiled Shower Cubicle Before Cleaning

Cleaning a Ceramic Tiled Shower Cubicle

Ceramic tiles are exceptionally durable and as long as the glaze is intact, they can usually be cleaned quite easily. Grout however is slightly porous and traps dirt which can be a struggle to clean effectively. The grout in this shower was discoloured and permanently stained so the best way to renovate it was to apply a grout colourant.

Before applying the grout colourant, I cleaned the grout with the Tile Doctor Grout Clean-Up and a wire brush. Being an acidic product, it can remove old grout smears, limescale, body soaps and fats, also being it will key the surface of the grout allowing for a superior bond with the grout colourant later.

Next, I cleaned the tiles using Tile Doctor Oxy-Gel which being gel based sticks well to vertical surfaces and allows for better dwell time so it can really eat into the dirt. The gel is applied to the tile, left for ten minutes, and then scrubbed it in with a 6-inch handheld polisher fitted with a black pad.

We then started on the shower base. I used Tile Doctor Remove and Go for this, again leaving it to soak into the surface dirt for ten minutes before scrubbing it in by hand with a brush. I managed to get into all the grooves in the plastic tray and removed all the dirt.

Once the cubicle was dry, I removed the mastic sealant from the two verticals and three horizontals around the base and behind the glass door. This is a fiddly job that can take a while with an assortment of knives and scrappers, taking care not to damage the tiles or the shower tray.

Now the shower was clean I coloured the grout back to its original white colour. This is tedious work carefully applying the colourant with a narrow paint brush. The product dries very quickly so any excess product the gets onto the tile must be wiped off immediately. Another advantage of using a grout colourant is it forms a barrier over the grout, sealing it prevent dirt from becoming attached to its cementitious surface. The smooth surface of the colourant also makes it much easier to clean.

Whilst the Tile Doctor Grout Colourant dried, I applied a new white mastic. Applying mastic takes some time to master and is best left to the experienced. It is not easily mastered but practice does makes perfect.

Ceramic Tiled Shower Cubicle after Renovation Ceramic Tiled Shower Cubicle after Renovation

Once done the cubicle looked transformed. I managed to complete the shower by early afternoon advising my client that mastic needs 24 hours to dry before it can be used again. He was very happy, the shower cubicle looked as good as new and relieved it was in a rental condition again.

Ceramic Tiled Shower Cubicle after Renovation


Professional Clean of a Ceramic Tiled Shower Cubicle in West Surrey

End of Tenancy Shower Cubicle Renovation in Woking Read More »

Terracotta Patio Floor Before and After Renovation Epsom

Cleaning and Sealing a Terracotta Tiled Patio Area in Epsom

This property in Epsom featured a small enclosed Terracotta Patio which the owner wanted deep cleaning in time for the summer. She had a huge shared garden and was hoping to host a family BBQ later in in the year, so wanted it to look good for the event. Given the situation with the COVID-19 epidemic I was happy for the opportunity to work outdoors and agreed a time to pop over and take a closer look.

Small Terracotta Patio Before Cleaning Epsom

I went over to survey the Terracotta tiling and except for a few stains I could see it was in good order, however the old sealer was wearing thin and it was due a good clean and re-seal. It was roughly 18m2 and I was confident weather permitting it could be done in one day. I worked out a price which was accepted, and we agreed a date for my return.

Cleaning a Terracotta Tiled Patio Floor

Focusing on the grout first I sprayed on a medium dilution of Tile Doctor Pro-Clean, and then left it to soak in for ten minutes. The Pro-Clean was then scrubbed into the grout lines by hand using a stiff brush. This action cleaned up the grout and using minimal water the soil was rinsed off the tiles and extracted with a wet vacuum.

Having inspected the tiles on my initial visit I had decided the best course of action to remove the old sealer and clean them up would be to apply a coarse 200-grit diamond pad. This would deep clean the tiles, remove the old sealer, renovate the surface, and remove the stains. This can be a little messy but gives a great result. After the 200-grit pad I closed the pores in the tiles with a 400-grit and then 800-grit burnishing pad. Terracotta is very porous so by closing the pores it should ensure the sealer doesn’t rapidly soak into the Terracotta during sealing.

After the application of each pad the tiles were rinsed with water and the soil extracted with a wet vacuum. I used minimal water during the rinsing to improve my chances of them drying quickly so I could apply the sealer later that day.

On this occasion the tiles were in reasonable condition, however, that’s not always the case and for tougher patio cleaning work I would of used Tile Doctor Patio and Driveway cleaner which really cuts through dirt and can pretty much clean up any external patio regardless of condition.

Sealing a Terracotta Tiled Patio Floor

It was a warm June afternoon which greatly aided the drying; I know from experience that applying a sealer to a damp tile can result in an inconsistent finish so I used a damp meter to measure the moisture levels before proceeding.

My plan had worked, and the moisture reading soon reached an acceptable level allowing me to apply the sealer. The sealer I selected was Tile Doctor Seal and Go Extra, this is a tough sealer that will provide plenty of protection for many years to come and its breathable so will cope with external environment. Seal and Go Extra also contains a colour enhancer which gave the natural red colour of the Terracotta tiles a real boost.

Small Terracotta Patio After Cleaning Epsom

The patio looked great and my client was over the moon with the results. Hopefully, she won’t have to wait too long before she can have that barbeque with her family.


Professional Renovation of a Terracotta Tiled Patio in West Surrey

Cleaning and Sealing a Terracotta Tiled Patio Area in Epsom Read More »

Victorian Tiled hallway Floor Before After Restoration Weybridge College

Astonishing Victorian Floor Restoration at Weybridge College

I was asked by the facilities manager of St Georges College in Weybridge to survey a Victorian tiled floor for restoration. Having worked there for twenty years he lifted a carpet over the summer in the main reception of the original building as part of renovation work. Underneath he found an original Victorian mosaic tiled floor dating back over a hundred and fifty years to when the school was established. However, for some reason in the distant past they had been partially covered with concrete levelling screed and just to make it more challenging for me the carpet had been secured with adhesive.

Victorian Floor Before Renovation Weybridge College

After visiting the school to survey the floor I could see this going to be a very challenging job for one person. Fortunately Tile Doctor has a network of over 50 specialists like me all around the Country, so I reached out to neighbouring East Surrey Tile Doctor Mick Conlon who is also very experienced in floor restoration. Together we broke down the job into sections, e.g. remove the adhesive, remove the screed, hone the tiles, repair any missing, broken or damages tiles and finally seal. All in the work would take five days to complete.

Victorian Floor Before Renovation Weybridge College

Removing Carpet Adhesive from Victorian Floor Tiles

The first task was to smother the surface in Tile Doctor Remove and Go which in turn was covered by plastic sheeting. By trapping the product under a plastic sheet, it couldn’t dry out and thereby remains active for longer.

Victorian Floor During Adhesive Removal Weybridge

After a couple of hours, it had broken down the adhesive which we swept up and disposed of. This was unpleasant work which required us to wear protective gloves, masks and goggles.

Victorian Floor During Adhesive Removal Weybridge Victorian Floor During Adhesive Removal Weybridge

Removing Cement Screed from Victorian Floor Tiles

On day two we turned our attention to the removal of the concrete screed and cleaning up the tiles. This was done with a process called honing. A circular 200-grit pad was attached to a floor buffer and run over the tiles using water for lubrication. The honing pad is impregnated with industrial diamonds which gradually cuts through and removes the screed covering.

Victorian Floor During Screed Removal Weybridge

After several hours the tiles began to reveal themselves. It also became apparent that after over 100 years of thousands of pupils walking over them some of the tiles were somewhat dipped in the middle. Using a handheld buffer these areas had extra attention with a very coarse 100-grit diamond pad. This process took most of the day with one man honing whilst the other constantly rinsed the floor with more water and extracted the waste.

Replacing Broken Victorian Floor Tiles

Once the tiles were totally free of concrete screed it exposed several broken and missing tiles. Some tiles had been removed and not replaced but back filled with concrete. Fortunately, I had managed to source matching reclaimed tiles was able to cut and fit replacements. All holes and cracks were filled so the floor was ready for sealing the next day.

Victorian Floor During Adhesive Removal Weybridge

Sealing a Victorian Tiled Floor

Given the age of the floor and the high amount of floor traffic this floor would receive I advised against using a high shine sealer and recommended an impregnating breathable matt sealer instead. There were two main reasons for this, first old floors don’t have a damp-proof membrane installed so it’s important to use a sealer that will allow the floor to breath and allow moisture to rise through the tiles. Secondly, only an impregnating sealer which soaks into the pores of the tile would cope with the anticipated heavy footfall.

Victorian Floor After Sealing Weybridge College

With that agreed several coats of Tile Doctor Colour Grow sealer were applied to the tiles leaving the floor looking great and completely transformed. At end of the last day the headmistress came to give her approval as did the whole secretarial staff. My favourite word was “astonishing”. Hard to disagree.

Victorian Floor After Sealing Weybridge College


Professional Restoration of a Victorian Tiled College Hallway in Surrey

Astonishing Victorian Floor Restoration at Weybridge College Read More »
Fired Earth Limestone Floor Before After Renovation Godalming

Fired Earth Limestone Floor Renovated in Godalming

This property in Godalming had the whole downstairs floor tiled with Fired Earth Limestone tiles nine years prior and had never had it cleaned or maintained professionally. The once beautiful stone was now looking dull and the grout had turned black with dirt leaving the floor looking uninviting.

This is quite normal for stone floors as it is the sealer that protects the stone from dirt and enhances its look. Most sealers wear off after three to four years sealer and in this case after nine years it was well overdue a deep clean and reseal.

Fired Earth Limestone Floor Before Clean and Seal Godalming

I visited the property to survey the floor. It was indeed looking in need of some attention and the kitchen was particularly bad. To restore the appearance of the Limestone tile and grout the floor would need to be stripped of what remains of the old sealer, then deep cleaned with attention to the grout, polished with burnishing pads and then finally resealed. I was confident I could get it restored to a nearly new finish and to prove it I completed a small demonstration clean which the homeowner was very happy with. They agreed to my quote and we scheduled in a couple of days to carry out the work.

Fired Earth Limestone Floor Before Clean and Seal Godalming

Cleaning a Limestone Tiled Kitchen Floor

On day one I started by cleaning the grout using a strong dilution of Tile Doctor Pro-Clean. its run along the grout line and then left to soak in for about ten minutes so it can get to work breaking down dirt and old sealer. The grout is then scrubbed using a grout brush which is then scrubbed backwards and forwards along the grout line until clean. The area is then rinsed with water and all the waste removed with a wet vacuum cleaner.

Next, I turned my attention to the Limestone tiles which needed stripping of any remaining sealer, cleaned and polished. I find the best way to do this is by apply a set of diamond encrusted Burnishing pads in sequence starting with a coarse 400-grit followed by 800, 1500 and finally finishing with an extra fine 3000 grit. Water is used to lubricate the burnishing process and the slurry is rinsed and extracted off the floor between pads. Each pad is run over the tiles three times, and it was a large floor so as you can imagine this process took most of the day.

Sealing a Limestone Tiled Kitchen Floor

I left the floor to dry out overnight and returned the next day to seal the Limestone. Before doing that, I reviewed my previous day’s work and I cleaned up any areas that needed further attention. Next step was to ensure the floor was dry as I don’t recommend applying a sealer to damp tile as you won’t get an even appearance, so before sealing a floor I tested for moisture using a damp meter.

To seal the floor, I applied two coats of Tile Doctor Ultra Seal which is an impregnating sealer that works by occupying the small pores in the stone to prevent dirt becoming ingrained there. Limestone is a light stone and most customers like that appearance so I find it best not to use a colour enhancing sealer as it can darken the stone. Ultra-Seal doesn’t contain any colour enhancer and leaves the floor with a natural finish whilst allowing the stone variations and patterns to show through.

Fired Earth Limestone Floor After Clean and Seal Godalming

Once the sealer was dry, I gave it a further polish with the 3000-grit pad which further brought out the natural beauty of the stone. My client was very happy with the floor, it really lifted the who area and the Kitchen in particular.

Fired Earth Limestone Floor After Clean and Seal Godalming


Professional Restoration of a Limestone Tiled Kitchen in West Surrey

Fired Earth Limestone Floor Renovated in Godalming Read More »

Ceramic Bath Tile Before After Cleaning Guildford

Restoration of a shower and bathroom in Guildford

A family living in Guildford were in touch recently about restoring the appearance of their Ceramic tiled shower and bathroom. They were about to put the property up for sale and were concerned the grubby grout might put off potential buyers. First impressions do count so renovating a bathroom or kitchen before selling is a really good idea and will help you achieve a better price.

Bath Shower Tile Grout Before Cleaning Guildford Bath Shower Tile Grout Before Cleaning Guildford

In this case the Ceramic tiles were dirty and black with mould in places which looked unhygienic and uninviting. Additionally, the mastic sealant between the tile and bath was tired and worn to the extent that water could end up leaking behind the seal. After visiting the property, they were pleased to hear I could help and happily accepted our quote which was based around a days work and some materials.

Cleaning/Repairing a Ceramic Tiled Shower and Bathroom

Firstly, I cleaned the grout using a Tile Doctor product called Duo Clean which is designed to tackle dirty grout and mould. I sprayed the product along all the grout lines and left it to soak in for about fifteen minutes. Once ready I brushed them with a firm wire brush then rinsed off with water. Next, I cleaned the tiles using a strong dilution of Tile Doctor Pro-Clean which was decanted into a spray bottle and sprayed onto the wall tiles. After ten minutes I then used a handheld buffing machine fitted with a small white buffing pad to shift the dirt and buff up the white tiles. After rinsing the slurry off with water you could see a marked improvement.

I hand dried the tile and grout with a cloth and then set about stripping out the old white mastic sealer with a sharp knife. This took some time, as you have to be careful not to scratch the bath or the tile.

By this time the grout had dried off fully and I was able to see if more work was required. To achieve a uniform colour throughout. Mould and some cleaning products can discolour grout permanently and, in this case, there was some grout staining I was unable to remove. We had discussed this possibility earlier and how it would be best resolved using a white grout colourant. So, I carefully applied Tile Doctor Grout Colour which is painted on with a small brush with any excess wiped off the tile before it can set. This resulted in a uniform white grout throughout and really gave the whole bathroom a lift.

Sealing a Ceramic Tiled Shower and Bathroom

With the cleaning process completed I applied a new white mastic between the bath and tile and along the verticals. This is done with the bath filled with water and then left for 24 hours to allow the silicone to fully cure.

After the grout colour had dried, I applied an aerosol Tile and Grout sealer over the whole surface and then lightly polished off any excess with a clean cloth. This does two things; one it adds a further layer of protection to the new grout colour and to the surface of the tiles. Secondly Ceramic tiles are non-porous, but bacterial dirt can still get a grip on the surface, with the sealer in place you will find water quickly runs off without getting a chance to get a hold.

Bath Shower Tile Grout After Renovation Guildford Bath Shower Tile Grout After Renovation Guildford

Sealers do wear off, so I recommended re-applying it every year. I had plenty left over and gave it to the customer when I finished using it. For regular cleaning of tiled shower areas, I recommend they use Tile Doctor Aqua-Pro this will neutralise any acid build-up caused by acidic shampoos etc.


Professional Renovation of a Ceramic Tiled Bathroom in West Surrey

Restoration of a shower and bathroom in Guildford Read More »

Scroll to Top